Some time ago I picked up some rib roast on sale. Today’s the day to cook it.
This cut was originally better-shaped, if not as round. When I looked more closely at it to see if I wanted to try tying it, I found some honking big sections of hard fat. I ended up removing them — and when you can remove significant amounts of fat by hand, without using a knife, it’s too much — and rerolling and tying the roast. The shape isn’t as nice, but removing that fat will make it much more enjoyable to eat. There’s still plenty of marbling left over, and bits of fat on the outside to crisp up.
(I didn’t throw away the fat. It’s in the freezer for when I next grind beef, or need some fat for other purposes. I didn’t need it here, but that doesn’t mean I won’t still use it.)
Last night I seasoned it pretty liberally with salt, black pepper, and a bit of brown sugar (partly to balance the salt, partly to give some more color to the meat when it’s done).
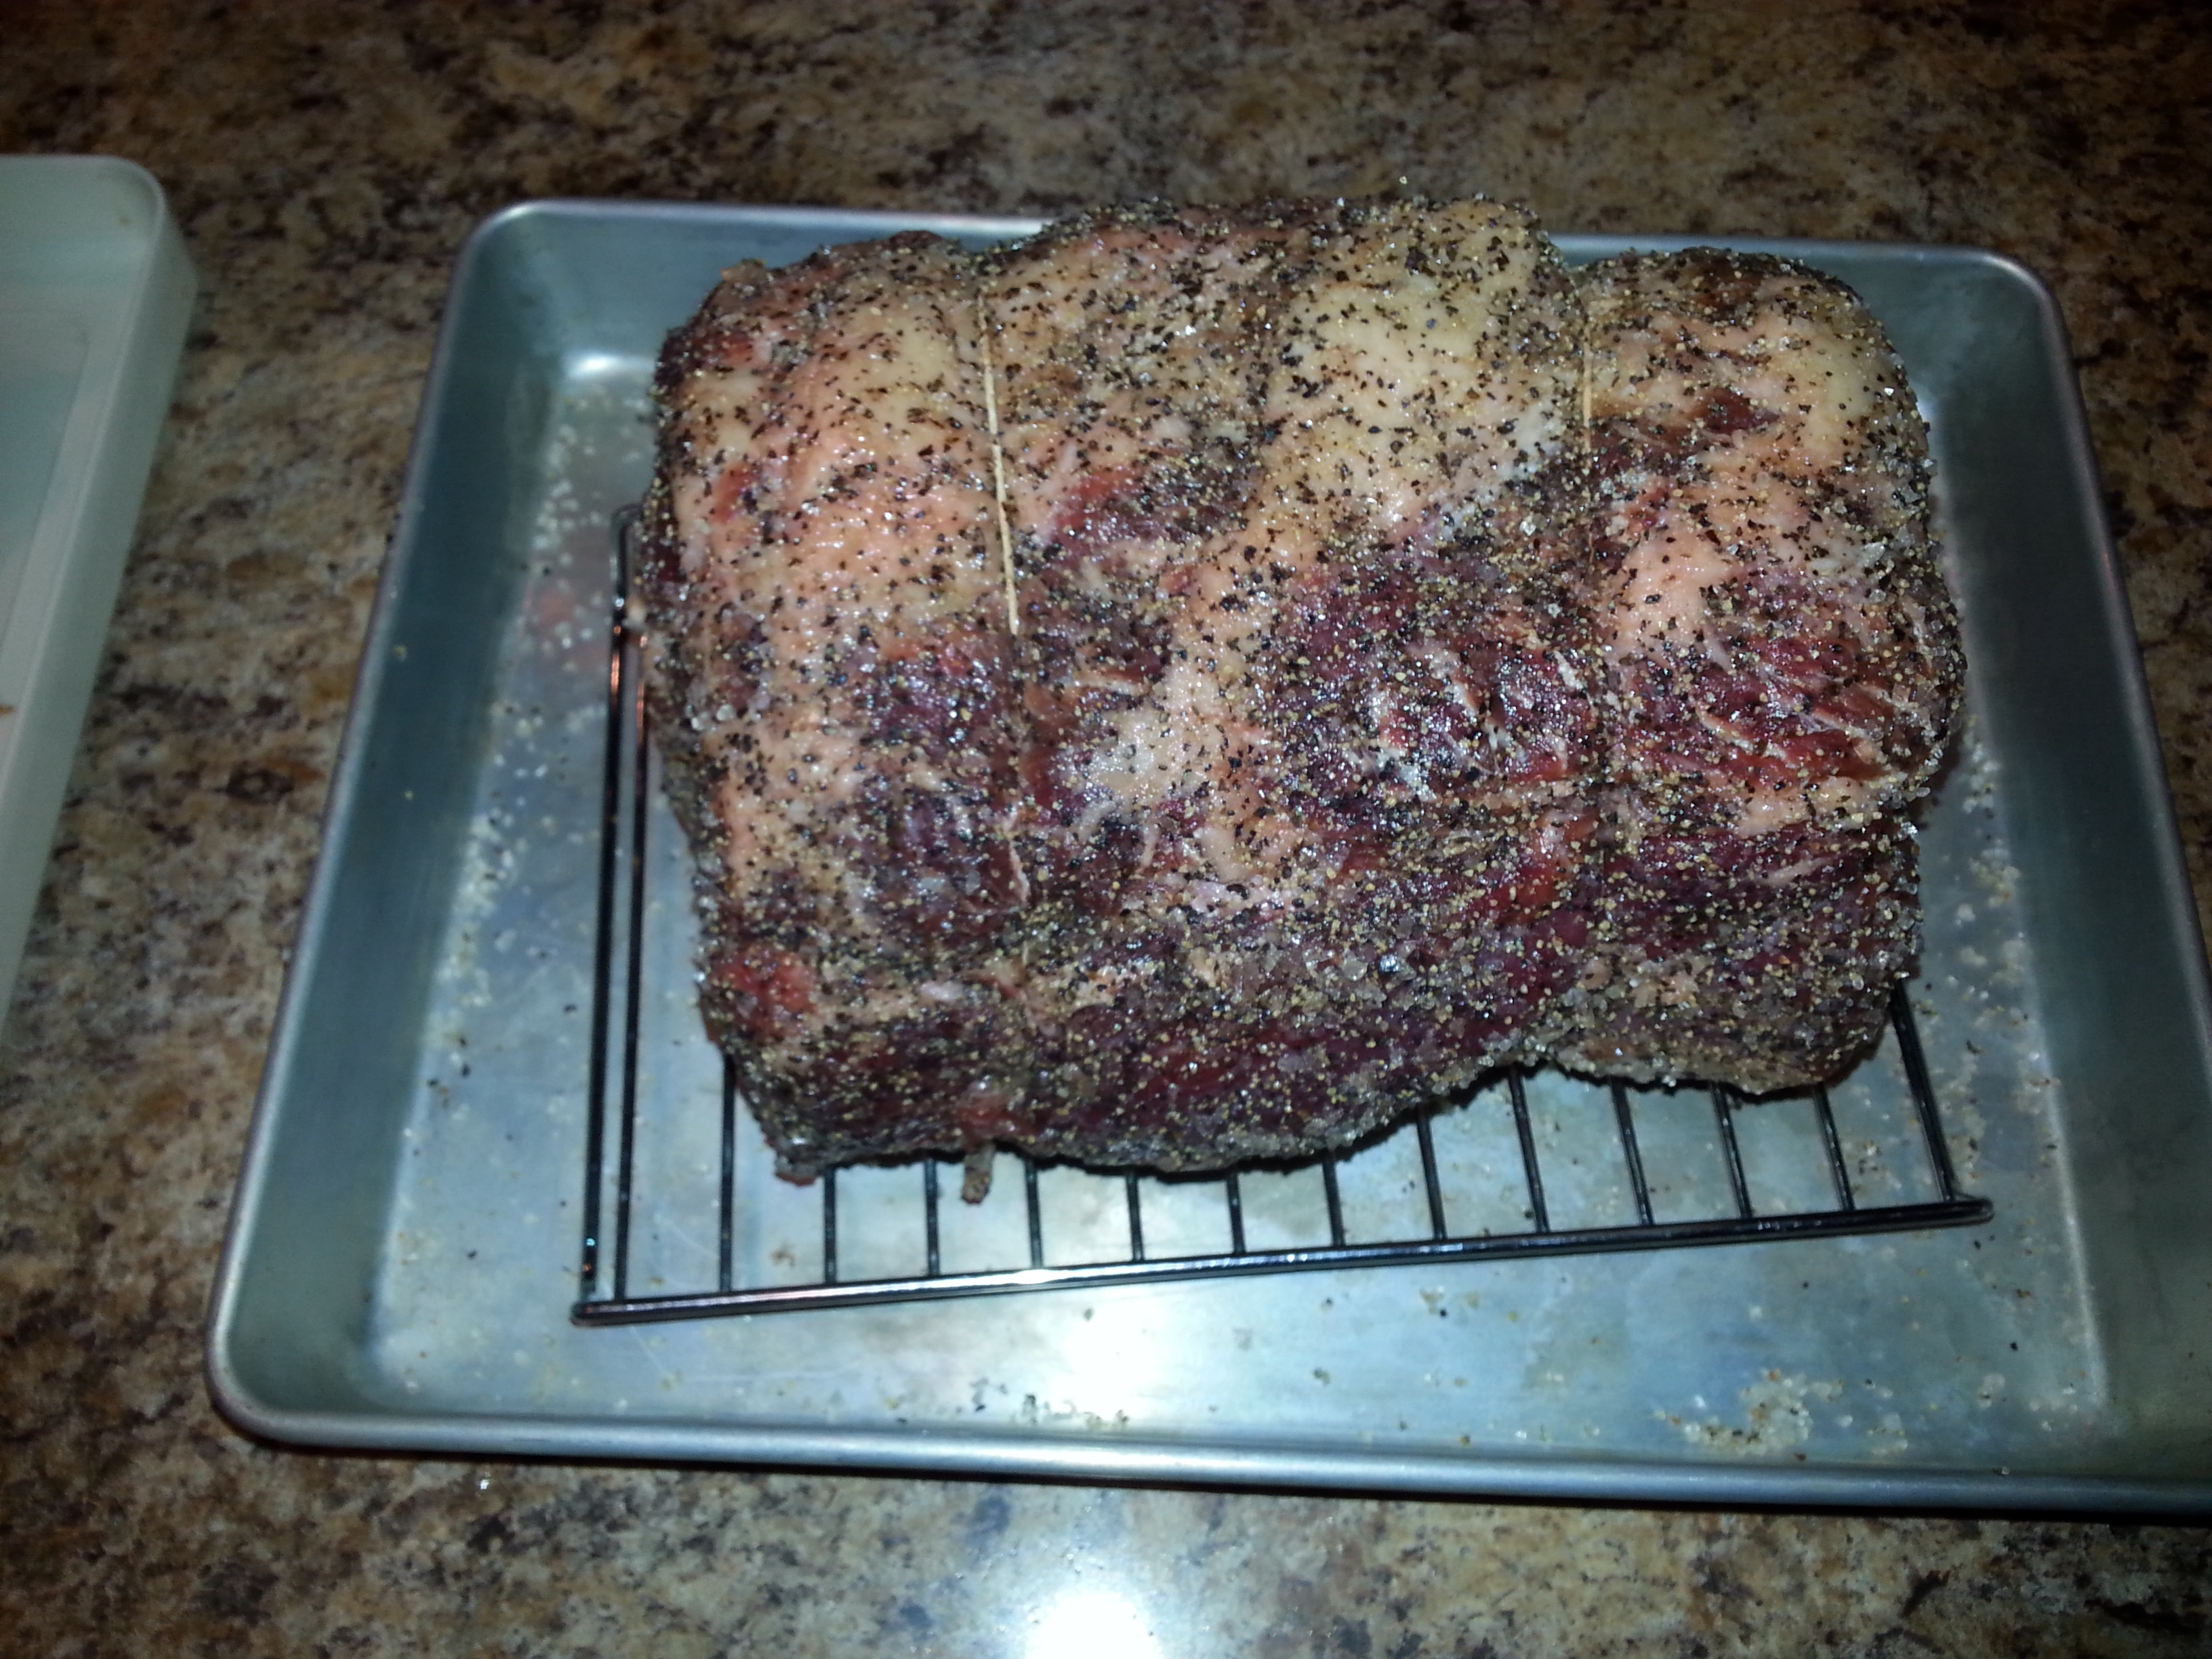
The rub was four parts by weight of kosher salt, one part brown sugar, and I’d planned on two parts black pepper, but this particular pepper is actually pungent… I decided to play it safe and go with one part black pepper. Just looking at it you can see it stands out much more than the others… I can always add more at the table if I need it.
I parked this in the fridge overnight to let the seasoning settle in, then took it out this morning to let it warm up a bit. A bit before 1:00 PM it went on the barbecue.
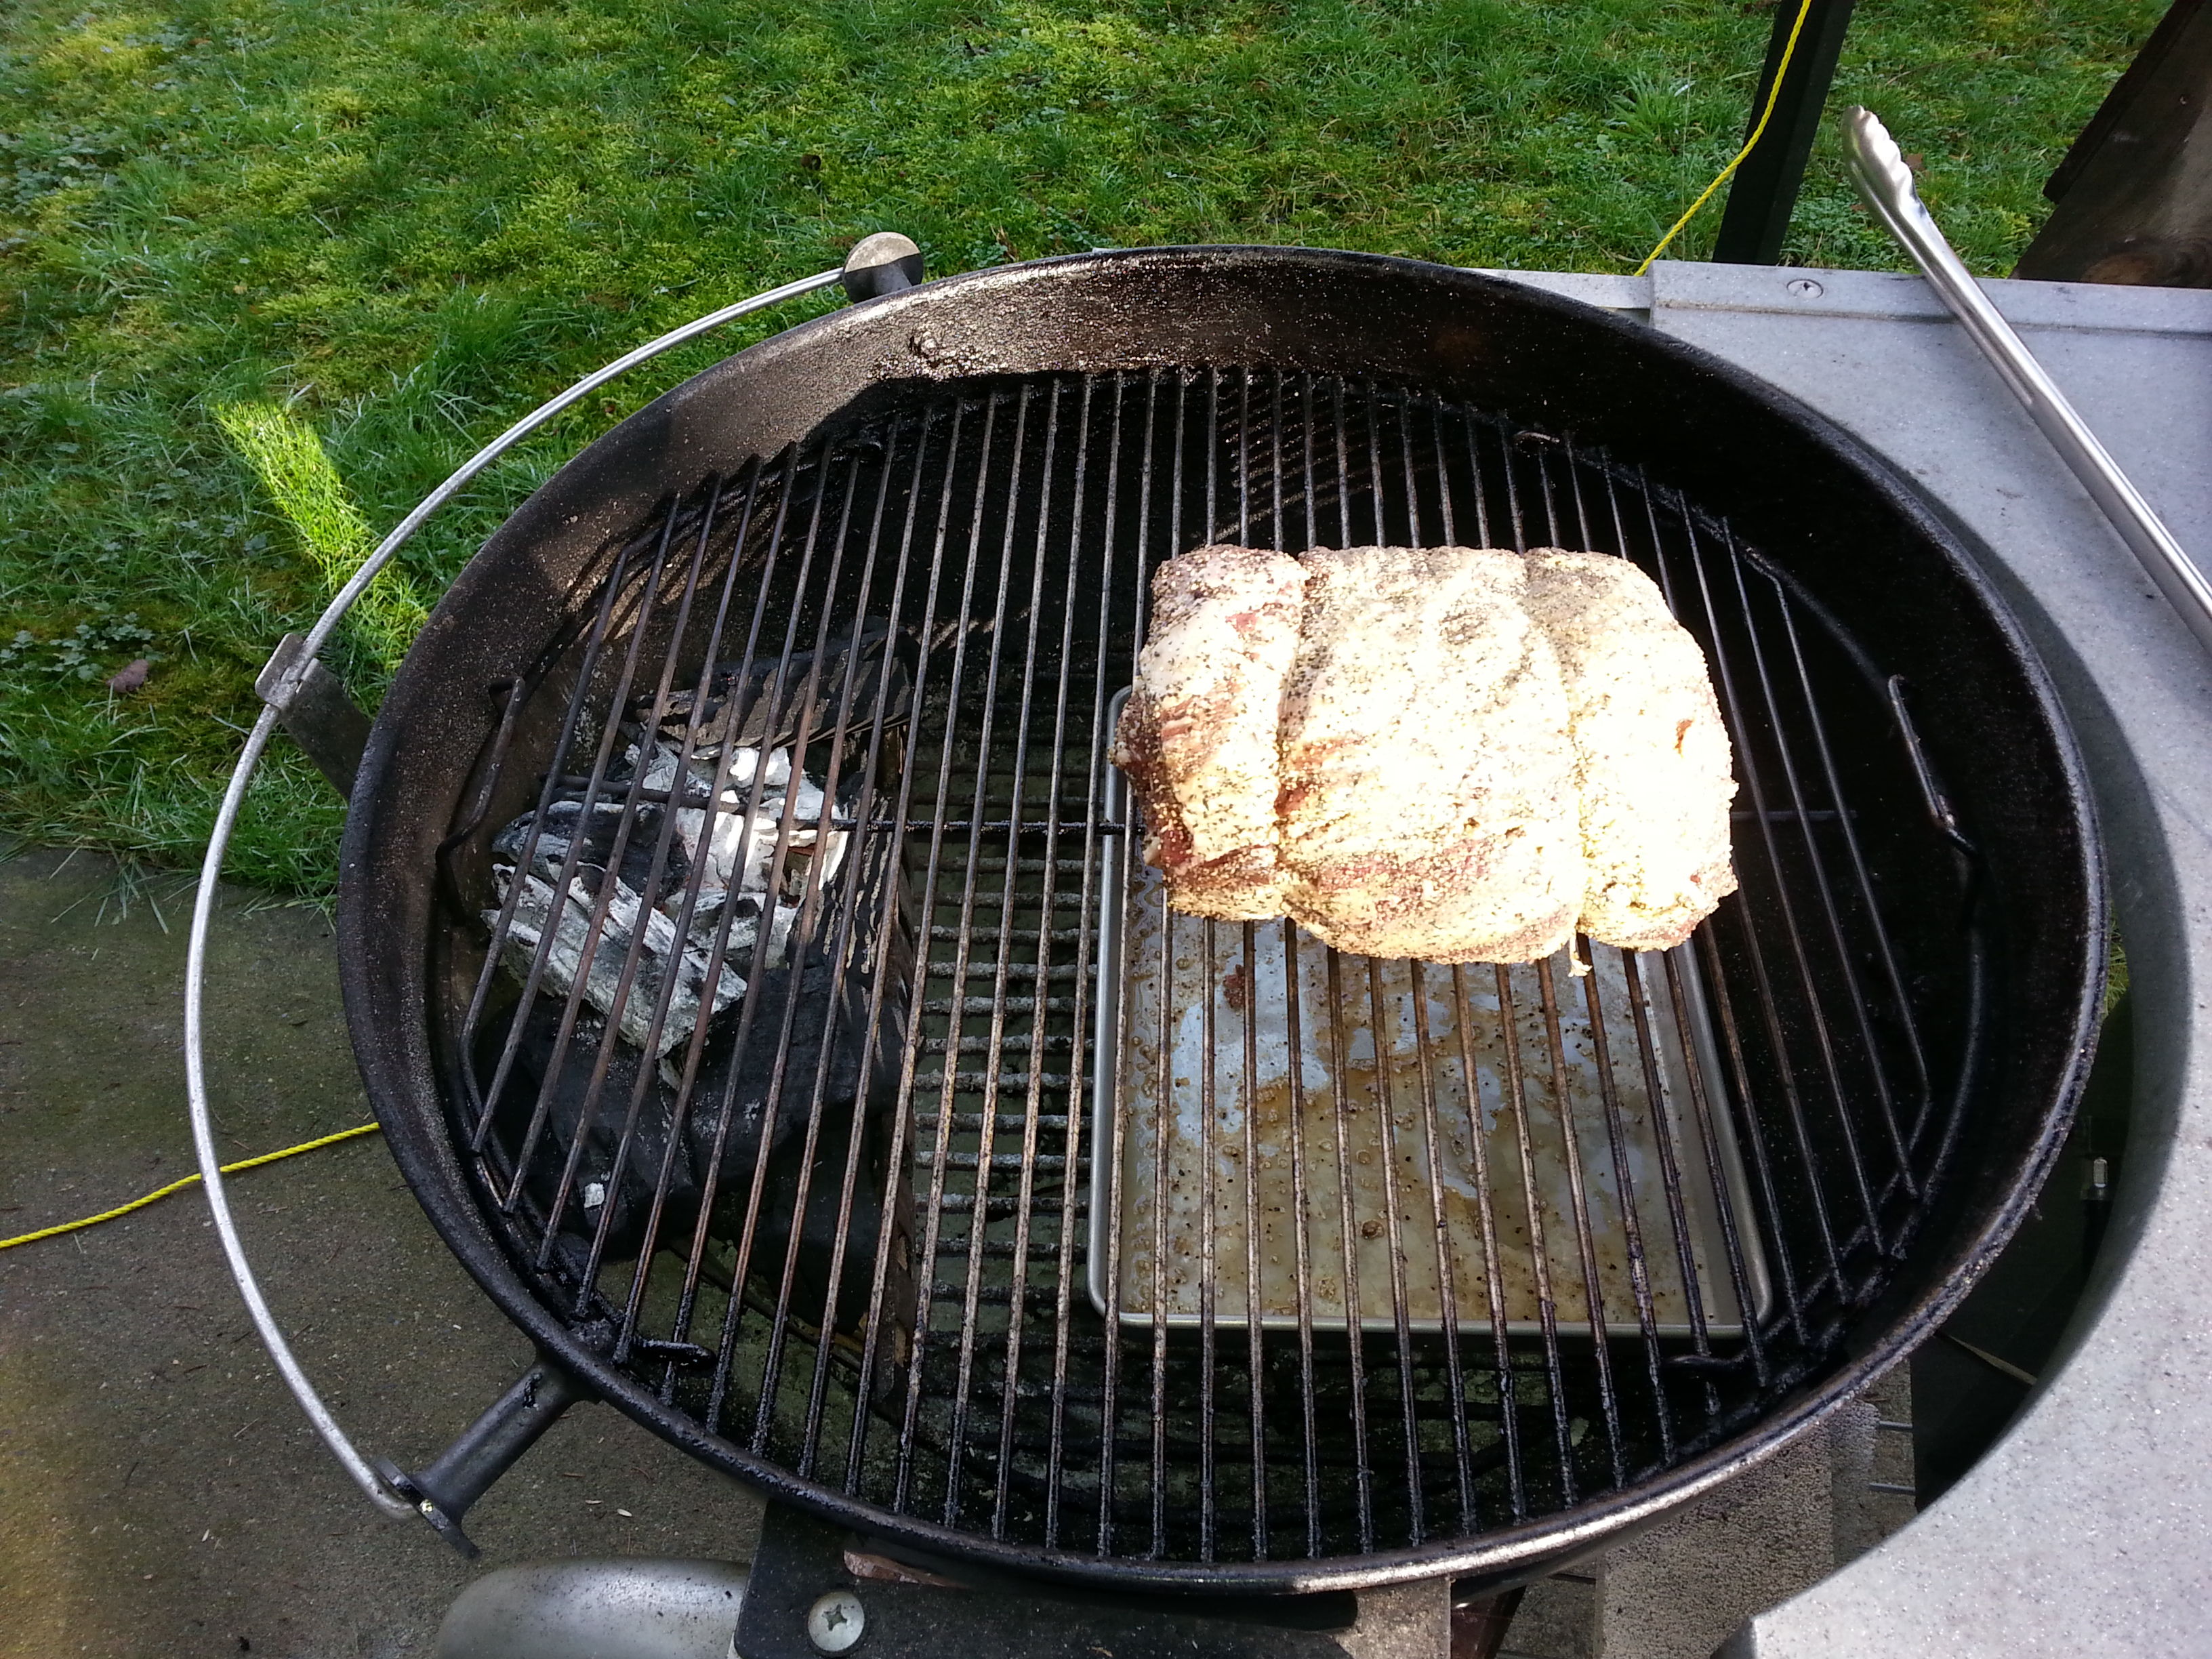
We won’t be eating until about 5:00 PM, but I want to reverse sear this. With a piece this size, this will probably mean about 3 hours around 225F-250F, then resting for about 15 minutes while I get some more charcoal up, and then 10 minutes searing the outside before letting it rest again and serving.
If it were just me, I’d have it turned sideways, exposing the larger sides to the heat. However, my wife and my daughter both like their beef cooked to medium-well rather than medium-rare, so I’m going to see if I can accommodate that by keeping one end always toward the fire. Also to accommodate their taste, I omitted the garlic on that end.
Apparently the combination of “garlic on the outside” and “trying to find the most-cooked meat” last time meant “she got all the garlic and I didn’t”. I learn from these things.
Update, After Slow Cooking
Contents
When doing a longer cook I’ll often show intermediate steps, but this was only a few hours and there wasn’t a lot of visible change during the process.
I did char an onion to serve with the beef, but I describe charred onions in their own post.
This is after about three hours of low and slow. It’s a little undercooked for my target, but I’m actually not quite done. It goes back over the charcoal to finish the outside surface.
I had to get the charcoal quite a bit hotter than it was, so I spent some time with the roast resting on a plate (shown above) and blowing on the charcoal to get it hotter. While getting the charcoal up to temperature, I grilled some peppers to serve with the beef. As with the charred onions, I describe grilled peppers in their own post.

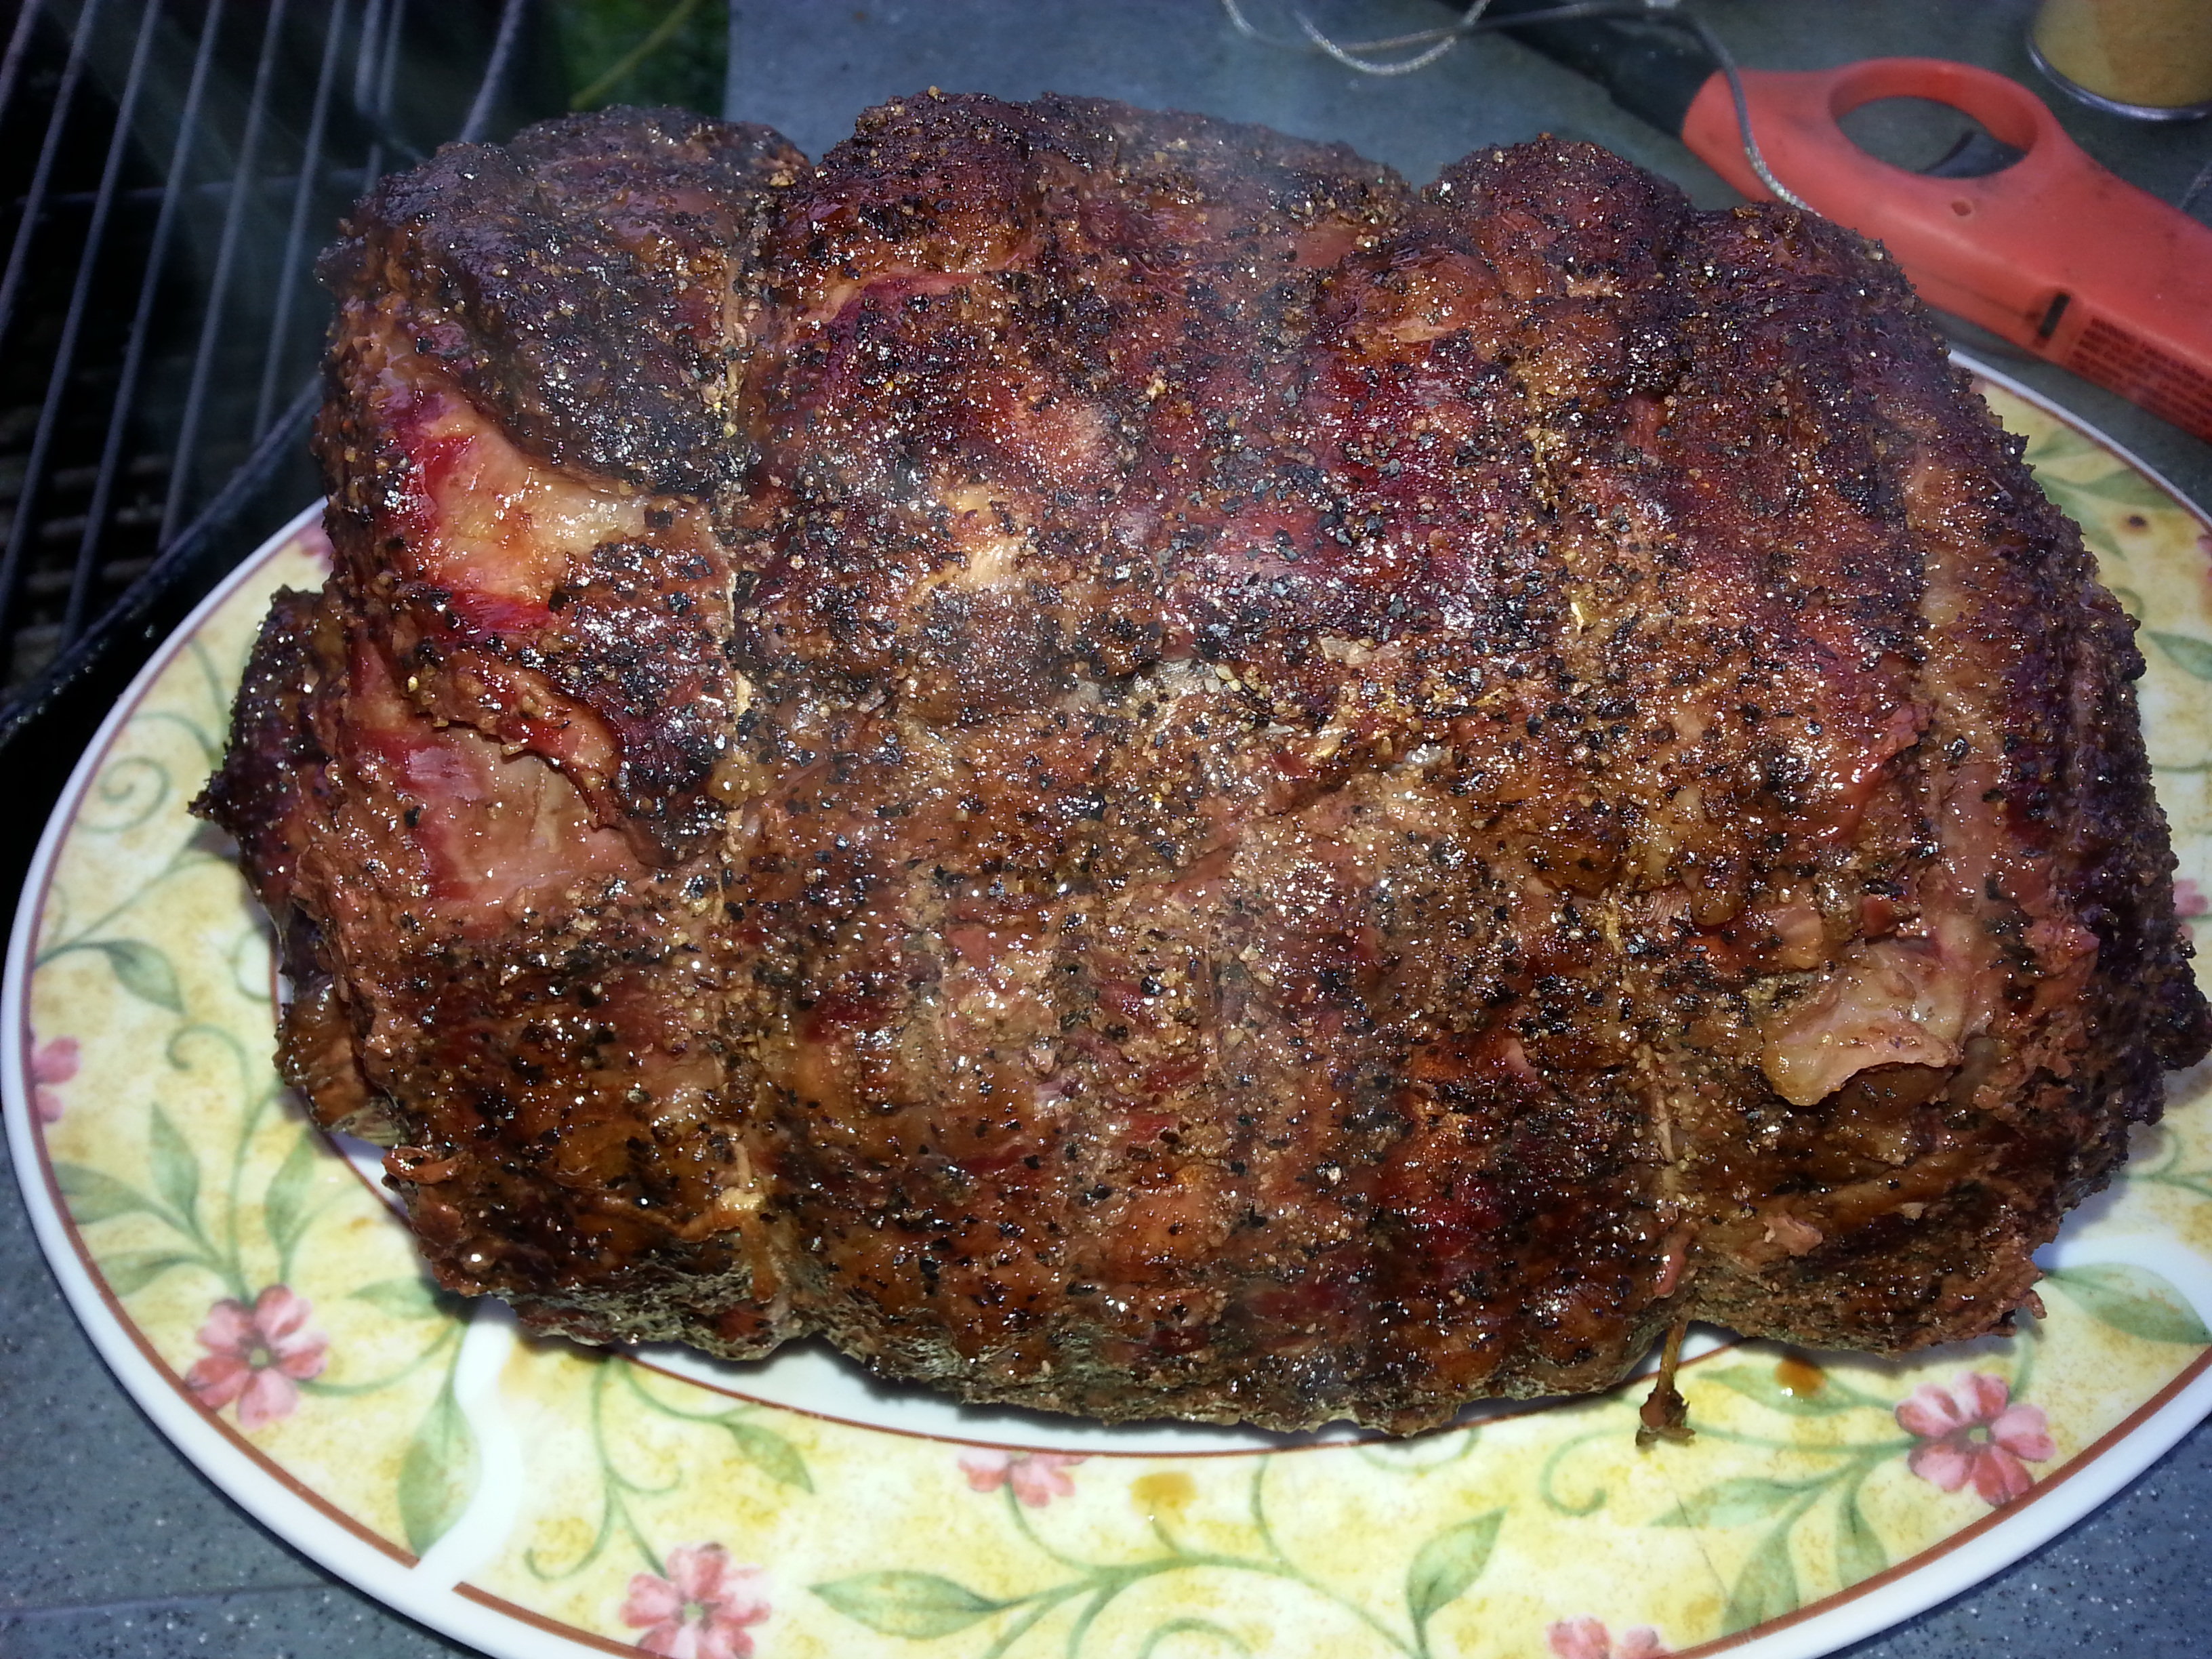
The charcoal is quite a bit hotter here than it was for the rest of the cook. The surface gets a bit more of a crust and browned more. This is the last step in the reverse sear process.
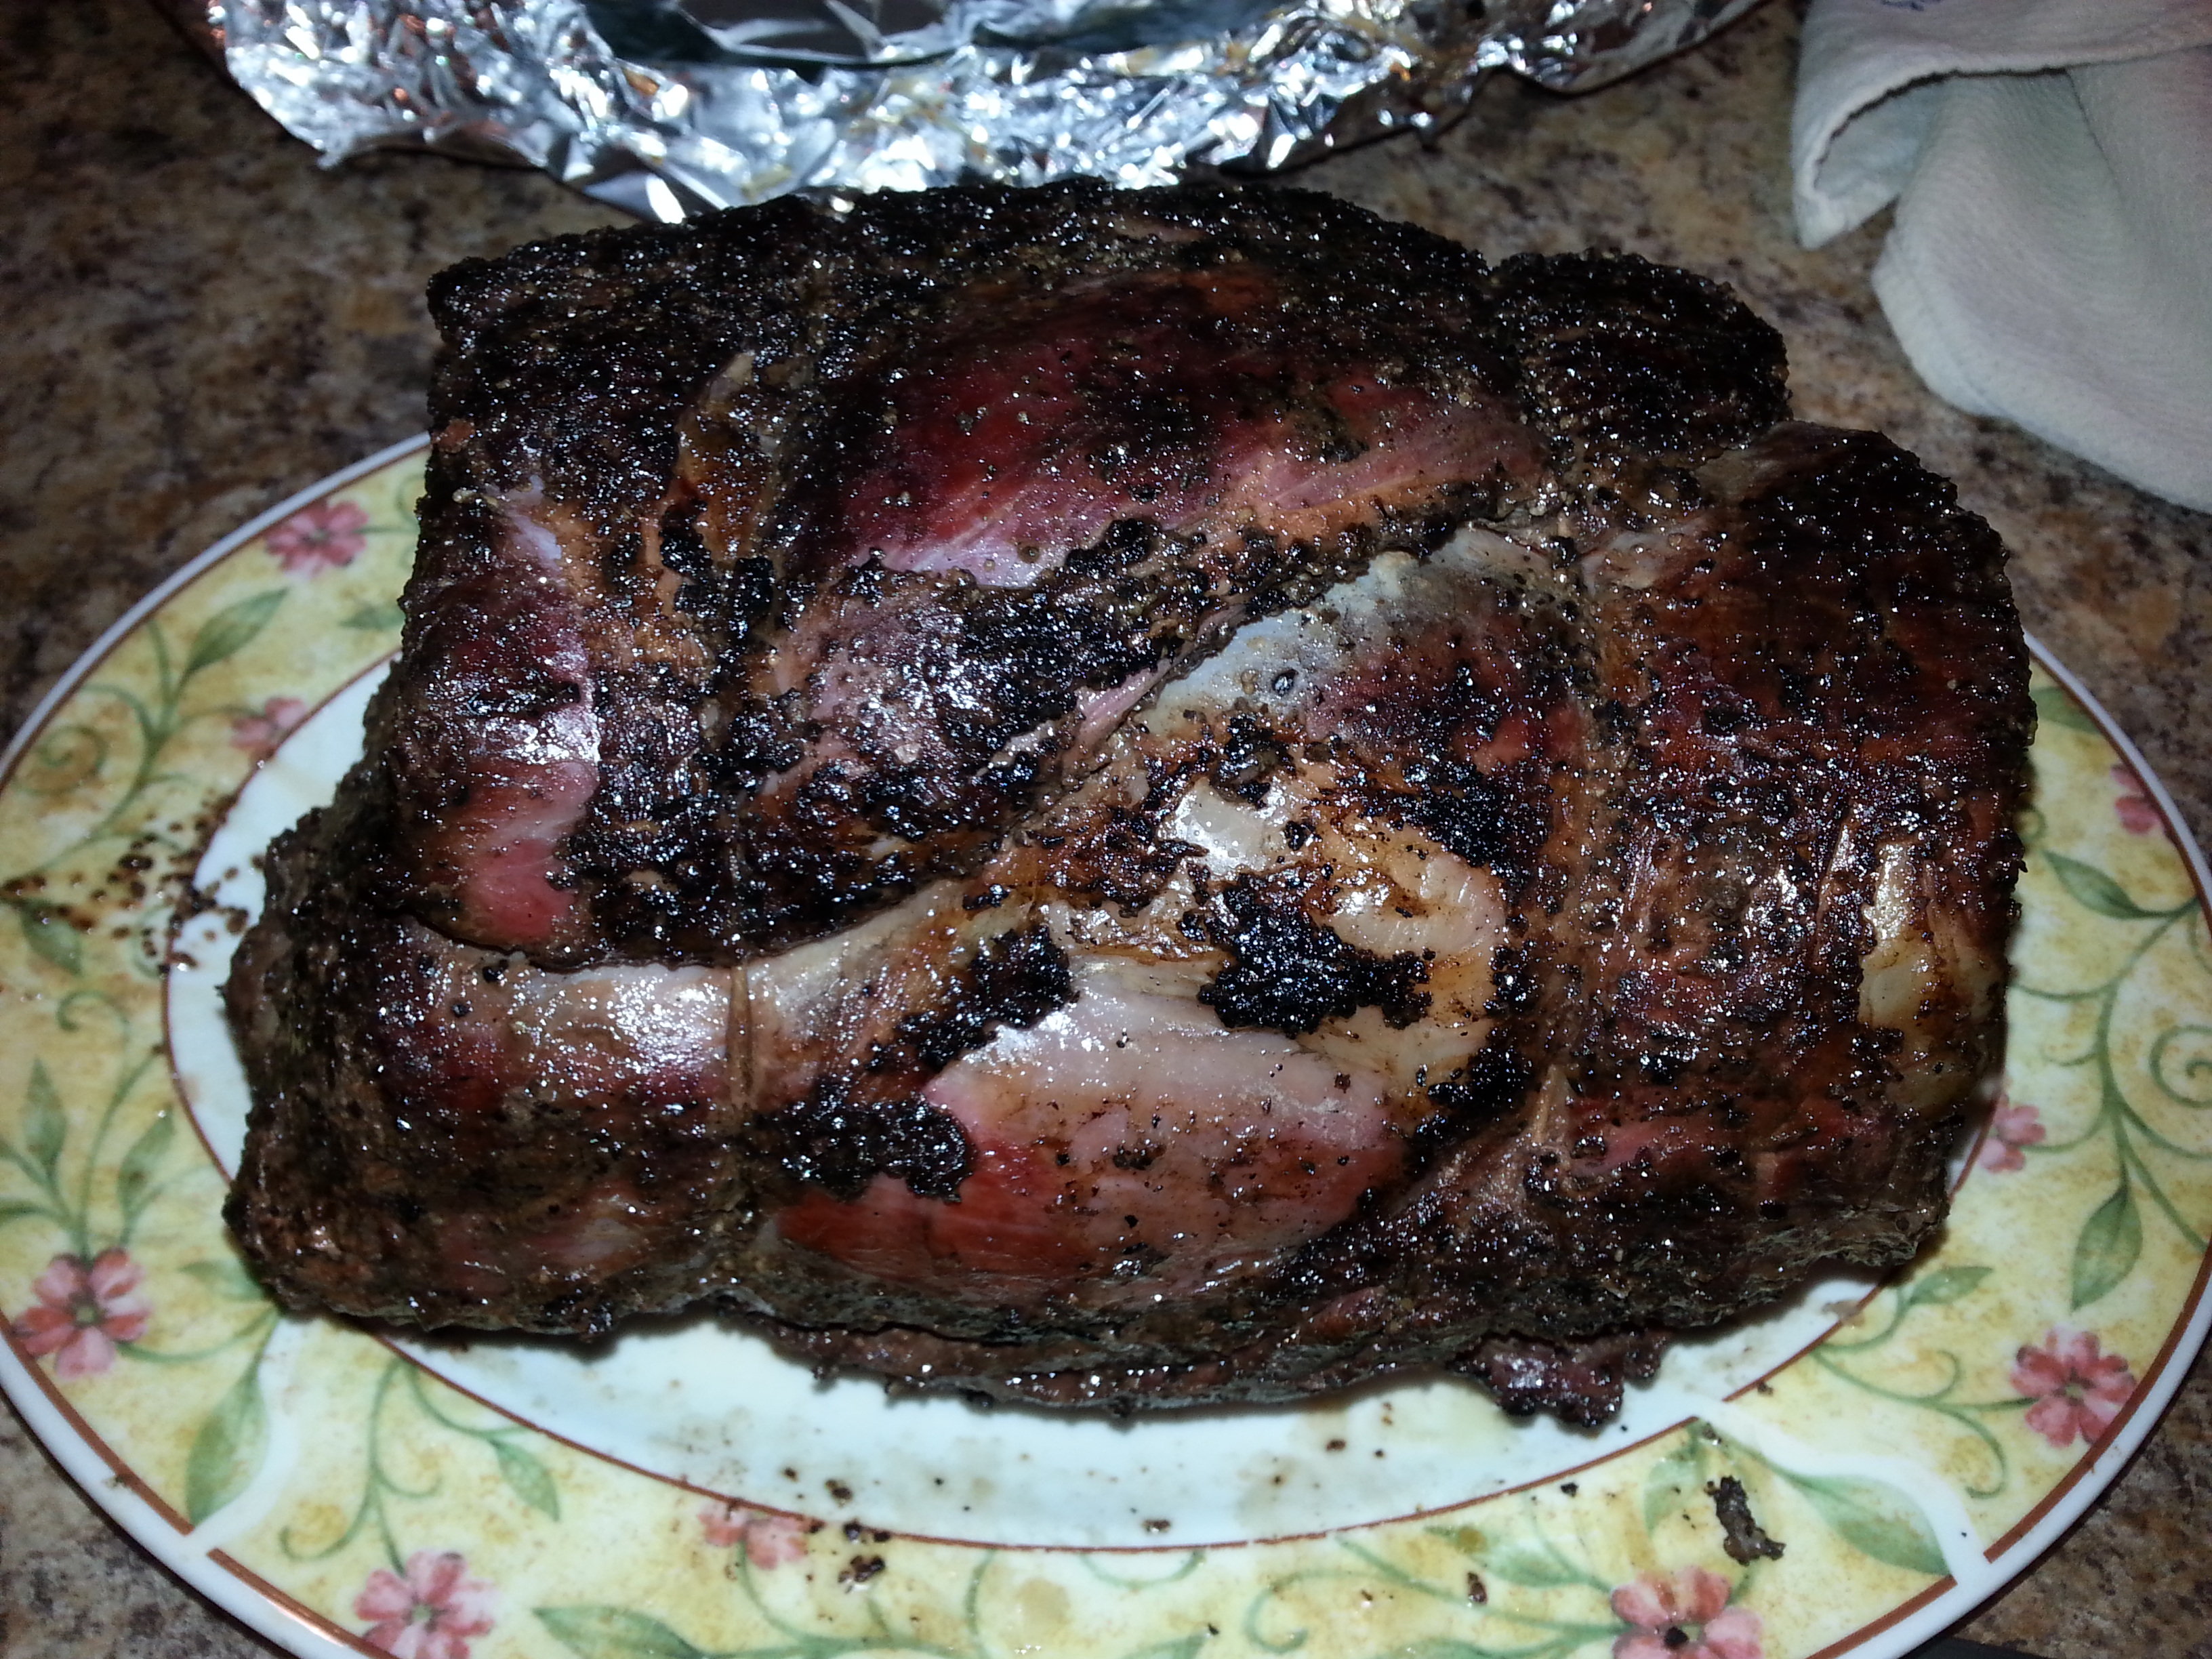
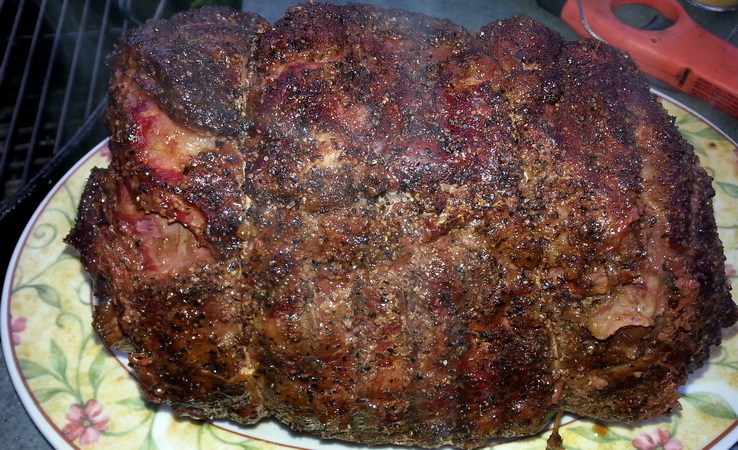
This is after the final sear, and ‘m back in the kitchen. Time to see how it all turned out.
Okay, looking good so far. Let’s get a closer look.
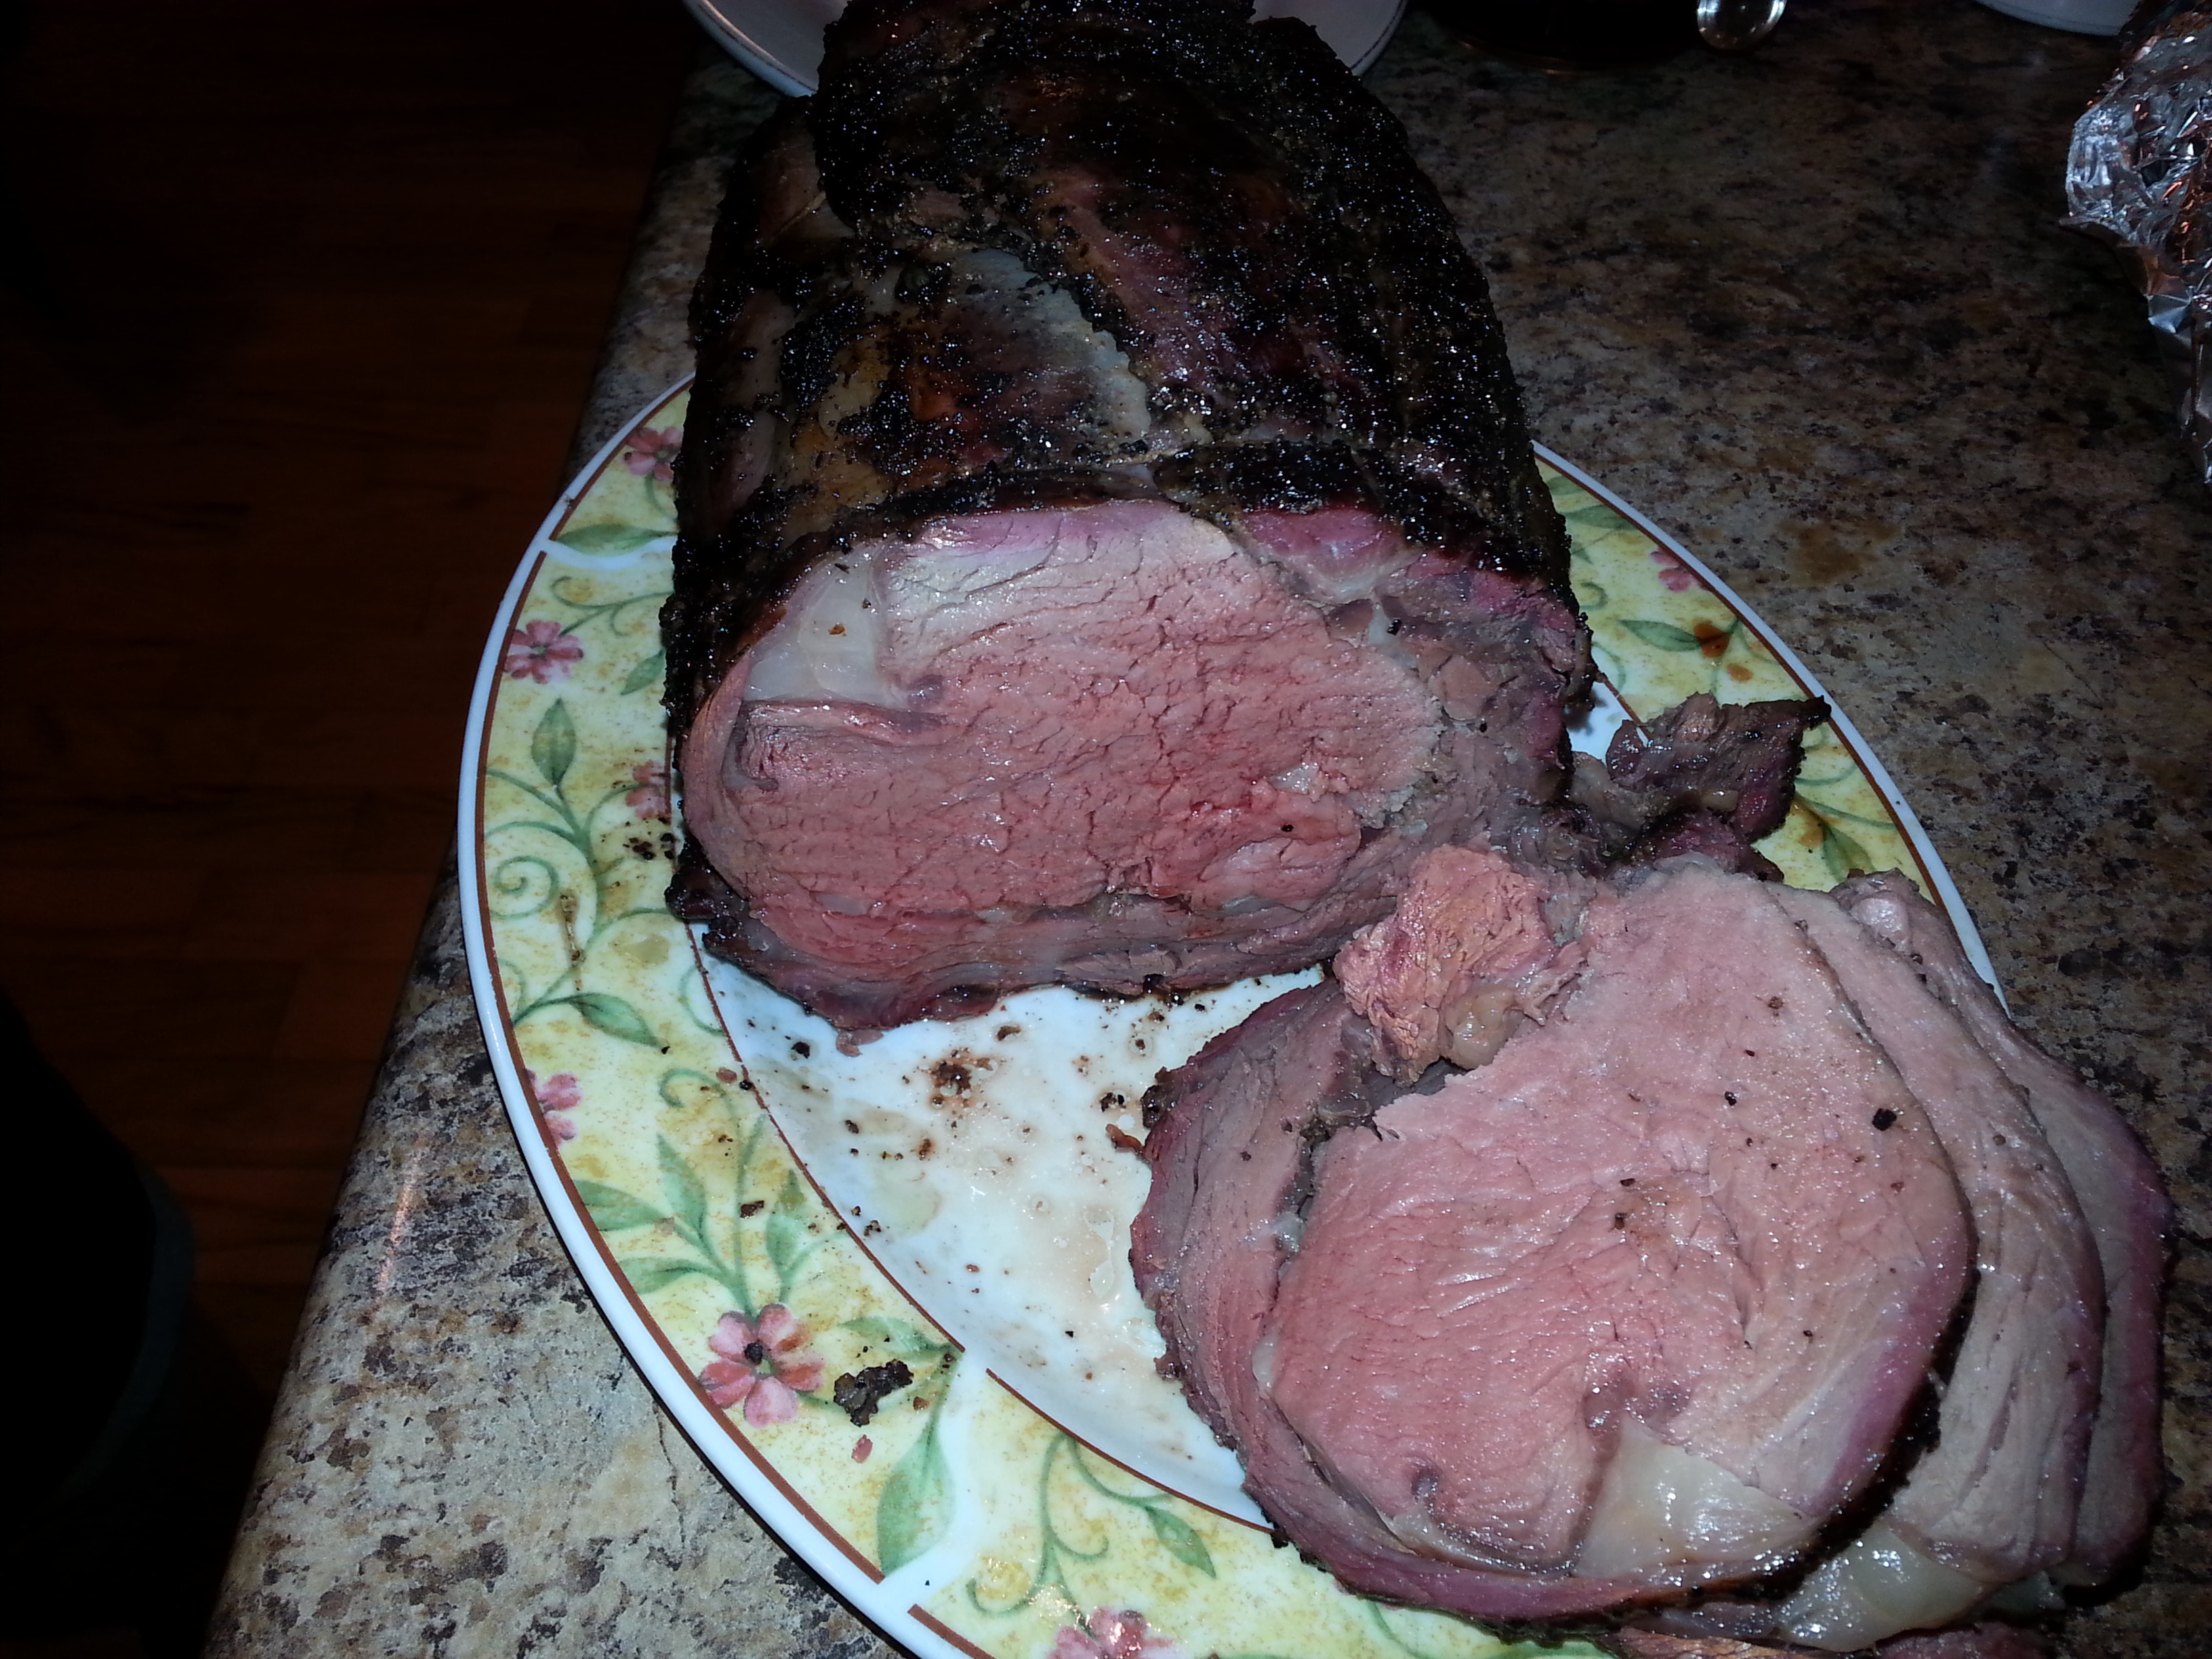
A little darker around the bottom right side than I wanted… I suspect this is because I kept the meat oriented the same way the entire time, to try to get one end more cooked than the other, and I suspect one side of the barbecue was hotter than the other.
I usually move the meat around a bit more to ensure even cooking… it appears that actually does serve a purpose.
On the one hand, I did get the two ends cooked to different temperatures, and the end that was supposed to be ‘more cooked’ than the other was. That’s to the good.
However, it looks like the entire thing was not quite as cooked as I was aiming for. Looking at this end it appears I’ve got quite a bit thicker grey layer than the other. Combined with the less-cooked inside, this tells me I had higher heat at this end than the other, but it didn’t penetrate as well. This would’ve been the end farther away from the fire, then spending too much time over the fire to finish it.
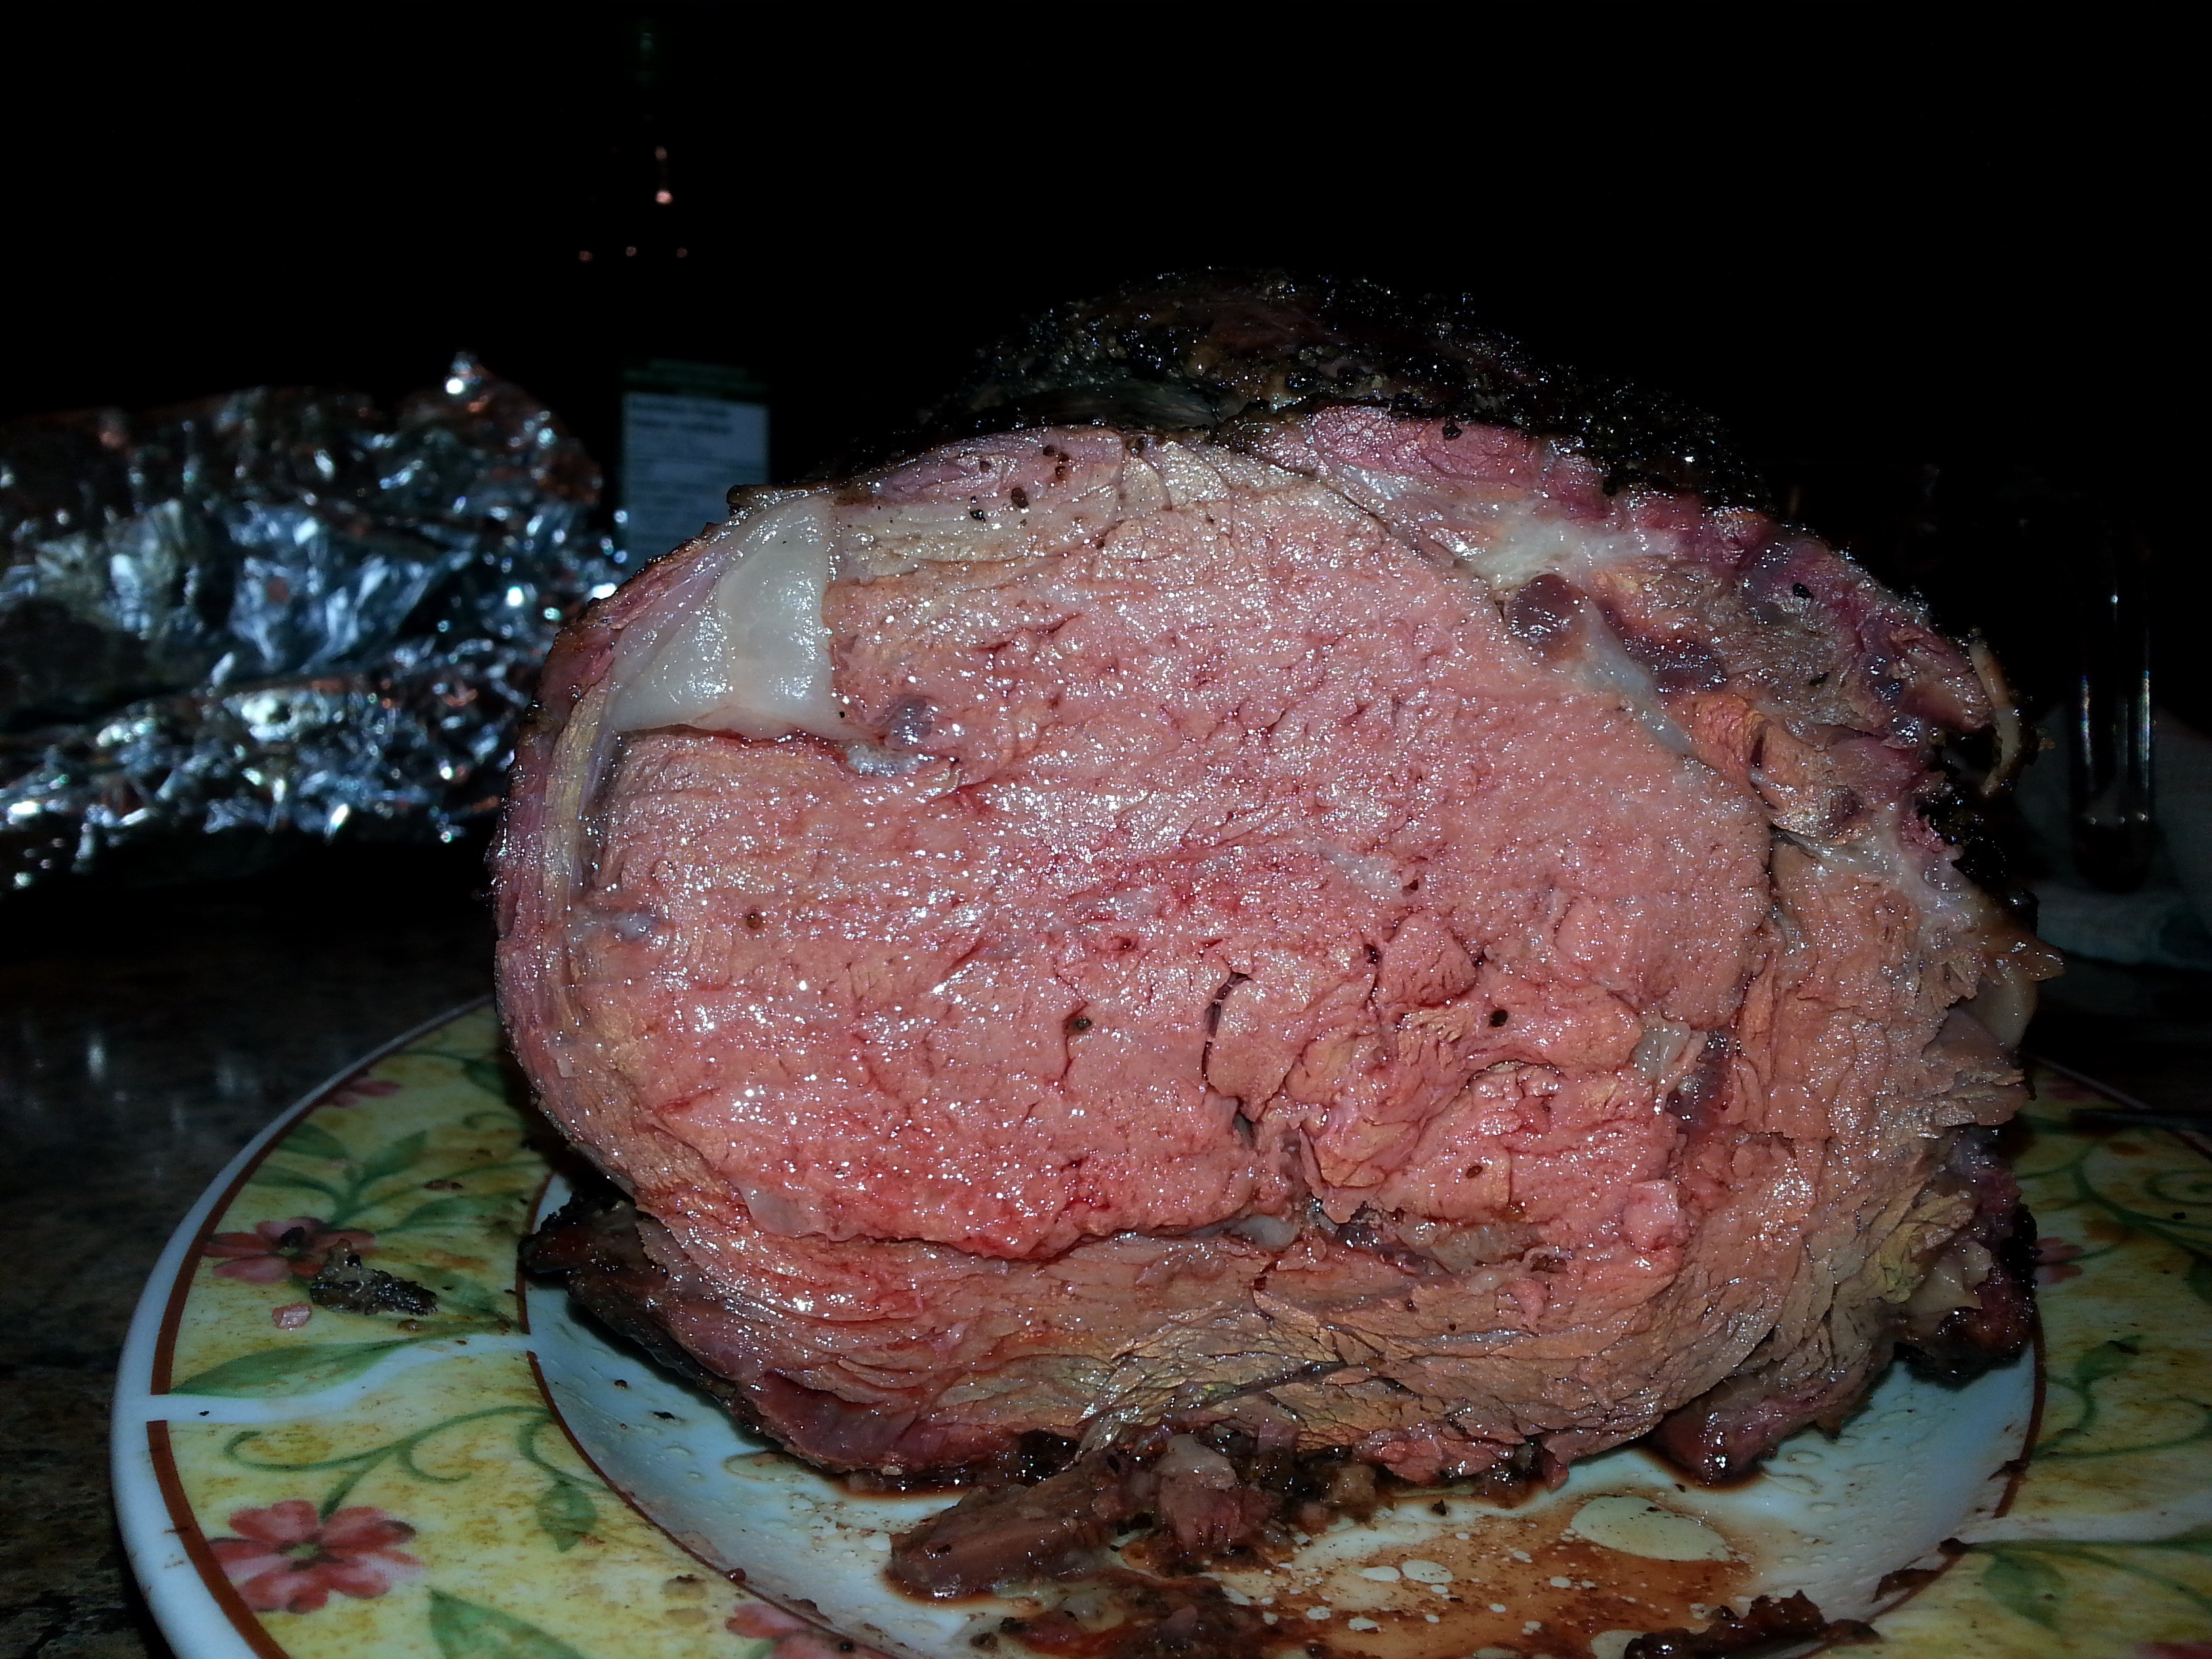
Fair enough. I’ve learned something today.
For Next Time!
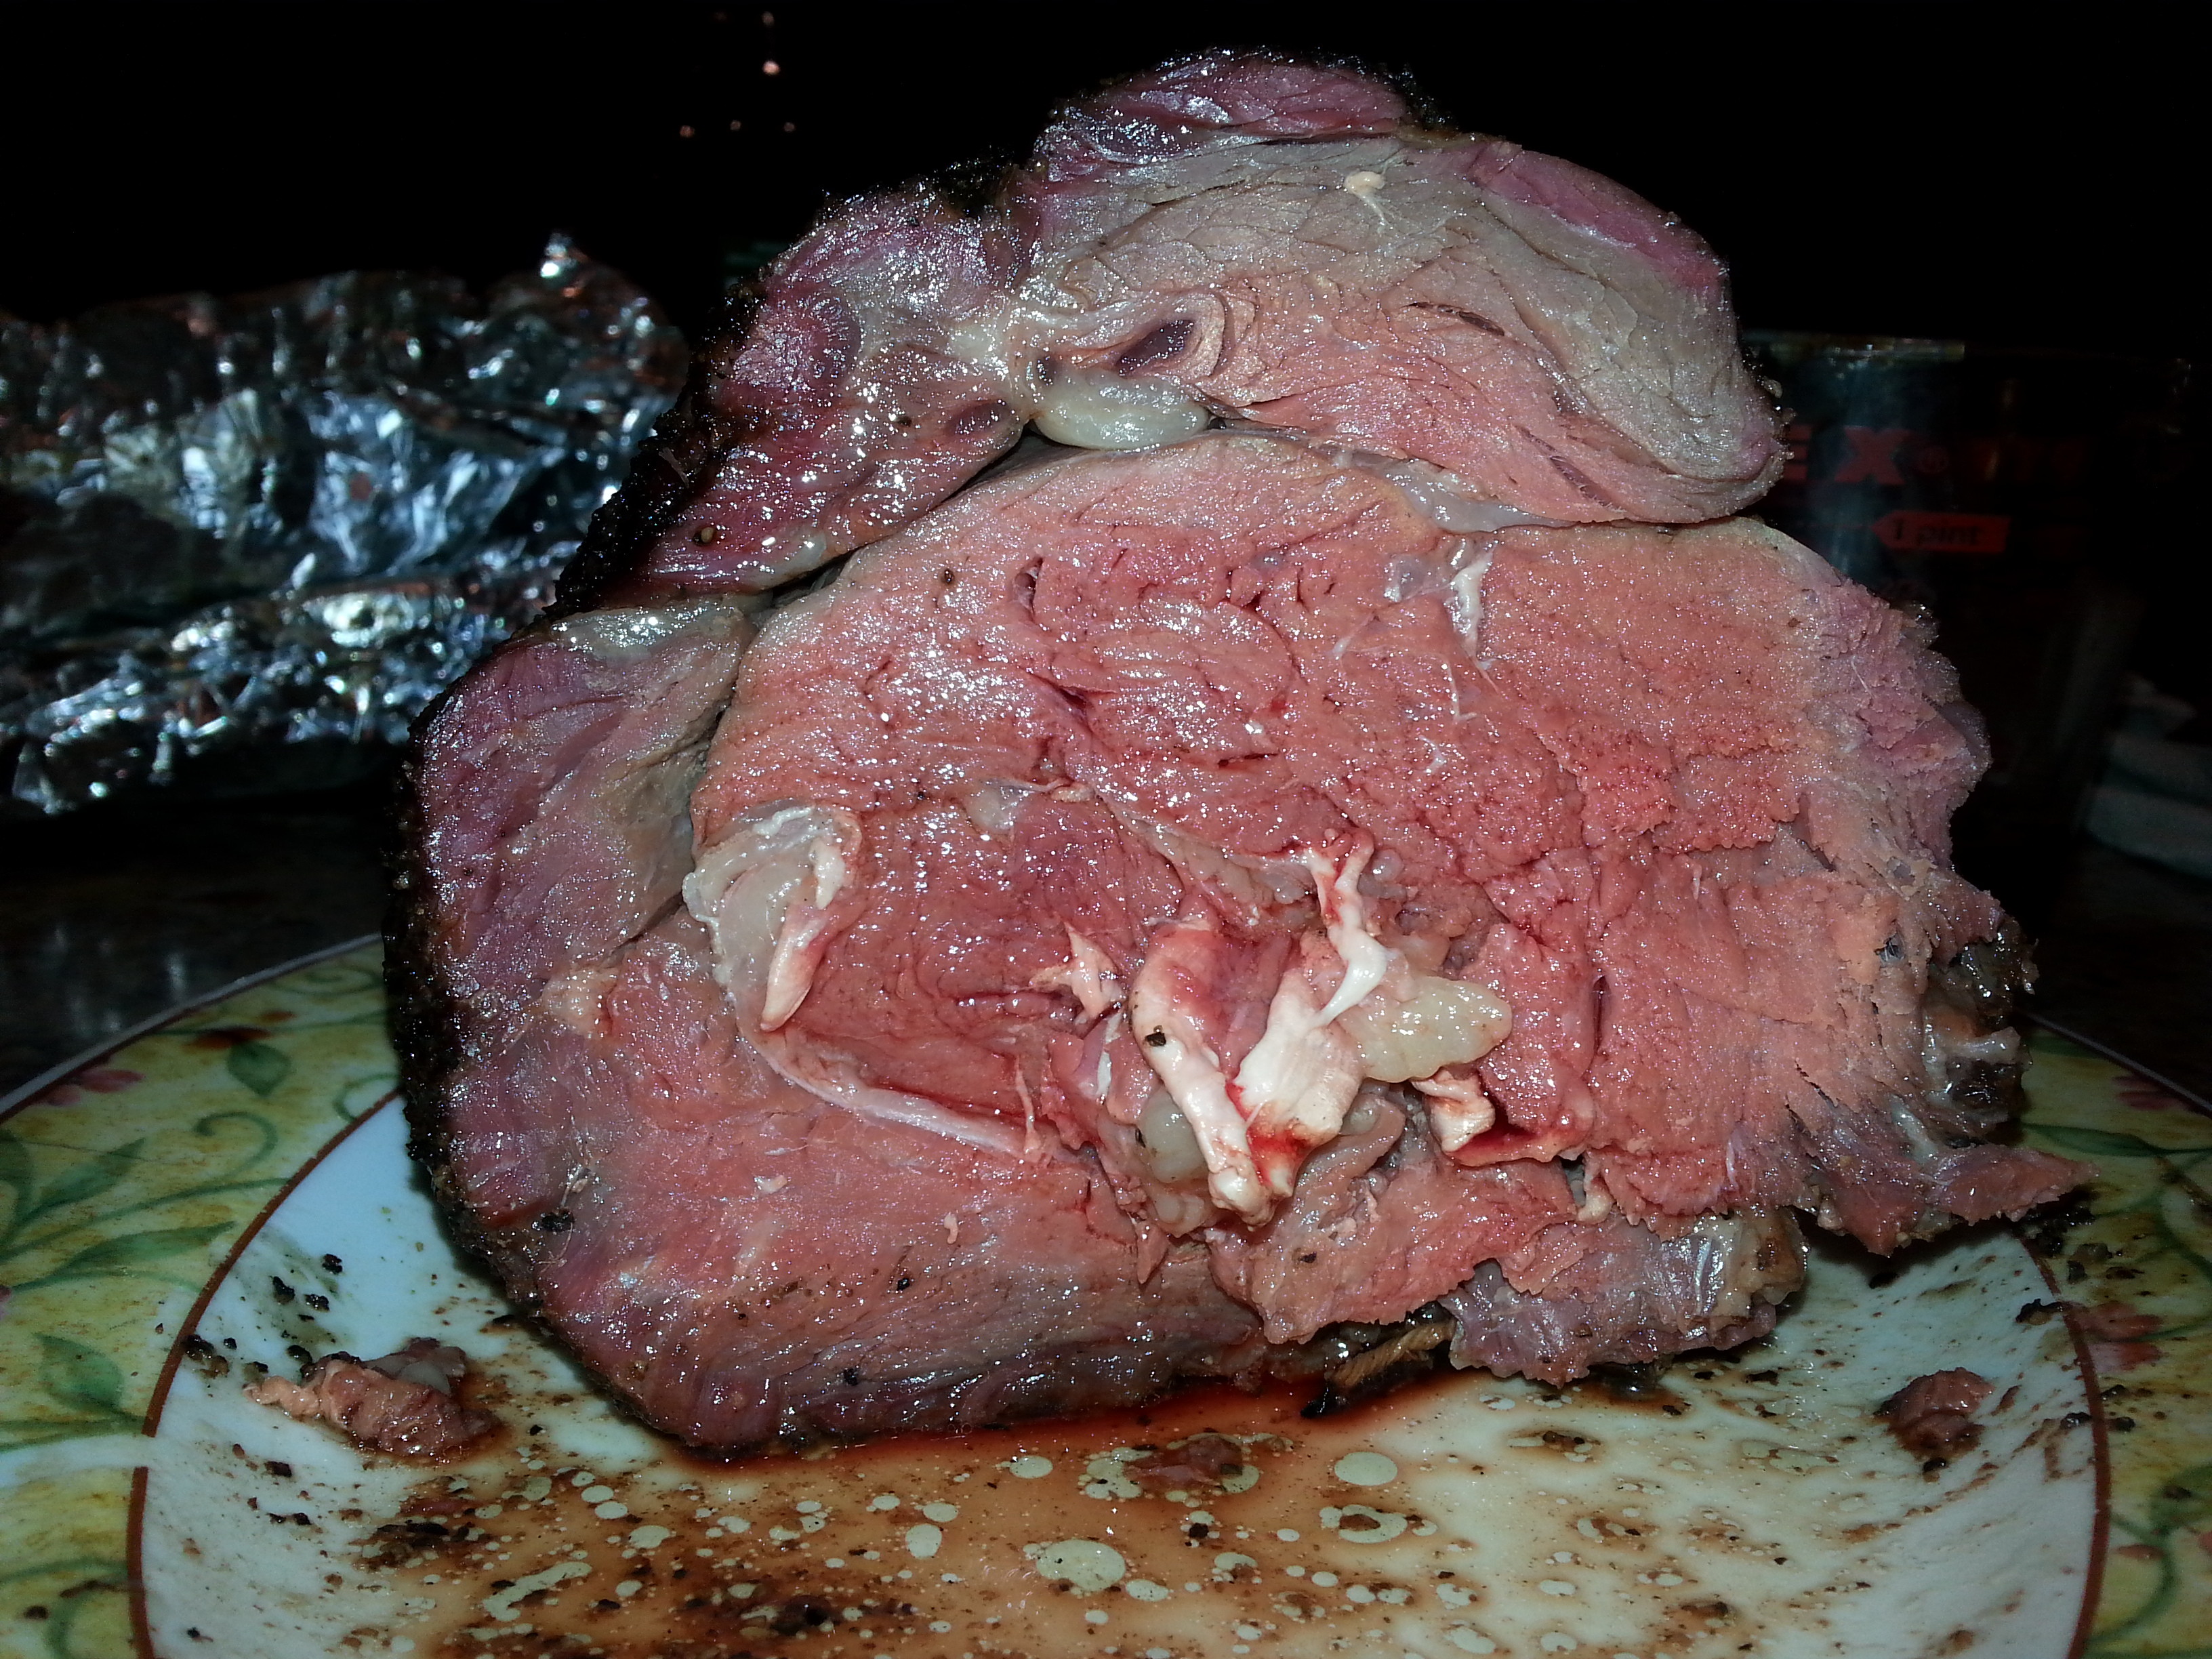
Next time, I won’t try to cook the meat so it’s deliberately uneven (more cooked in one part than another). What I should have done, and what I’ll do next time, is carve off the bit that’s supposed to be more cooked and cook the two pieces accordingly. That will let me move the meat around as needed to ensure even cooking, with more control over both pieces.
Today I learned.
Final Preparation and Serving
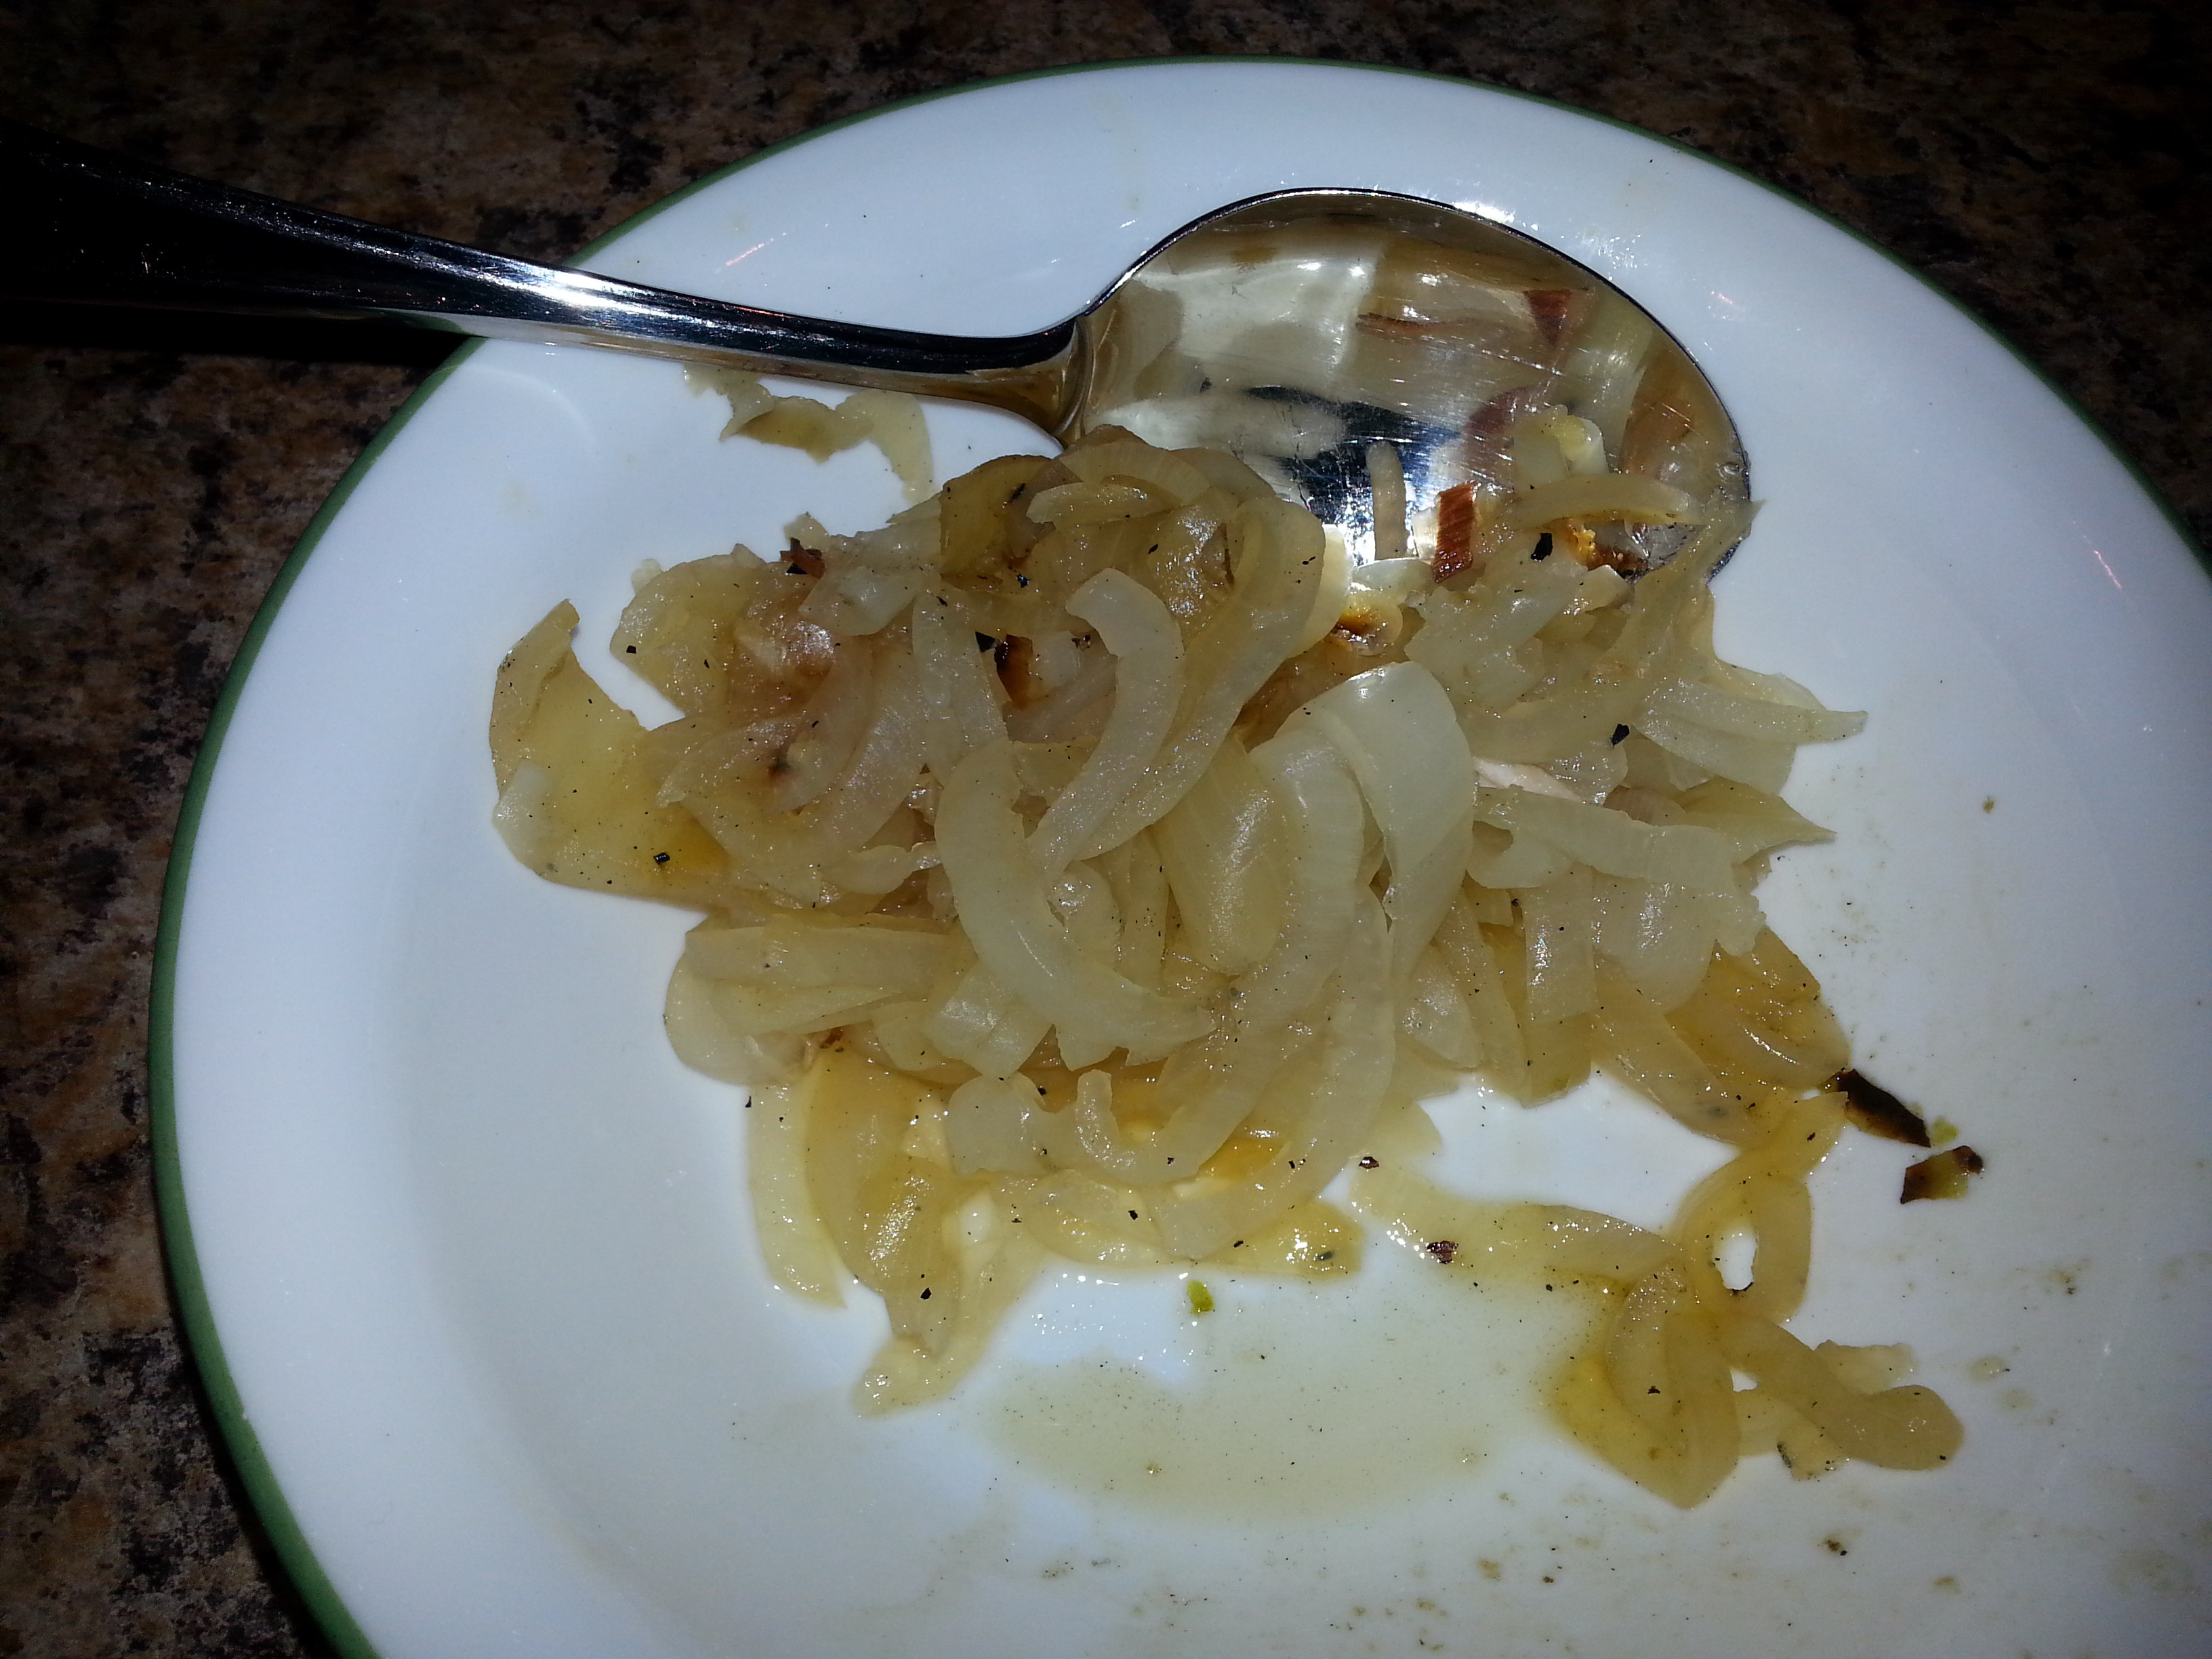
I charred an onion, for those who like fried (or at least, caramelized) onion with their beef.

I also grilled some peppers, to get some more vegetables and add some color to the plate.
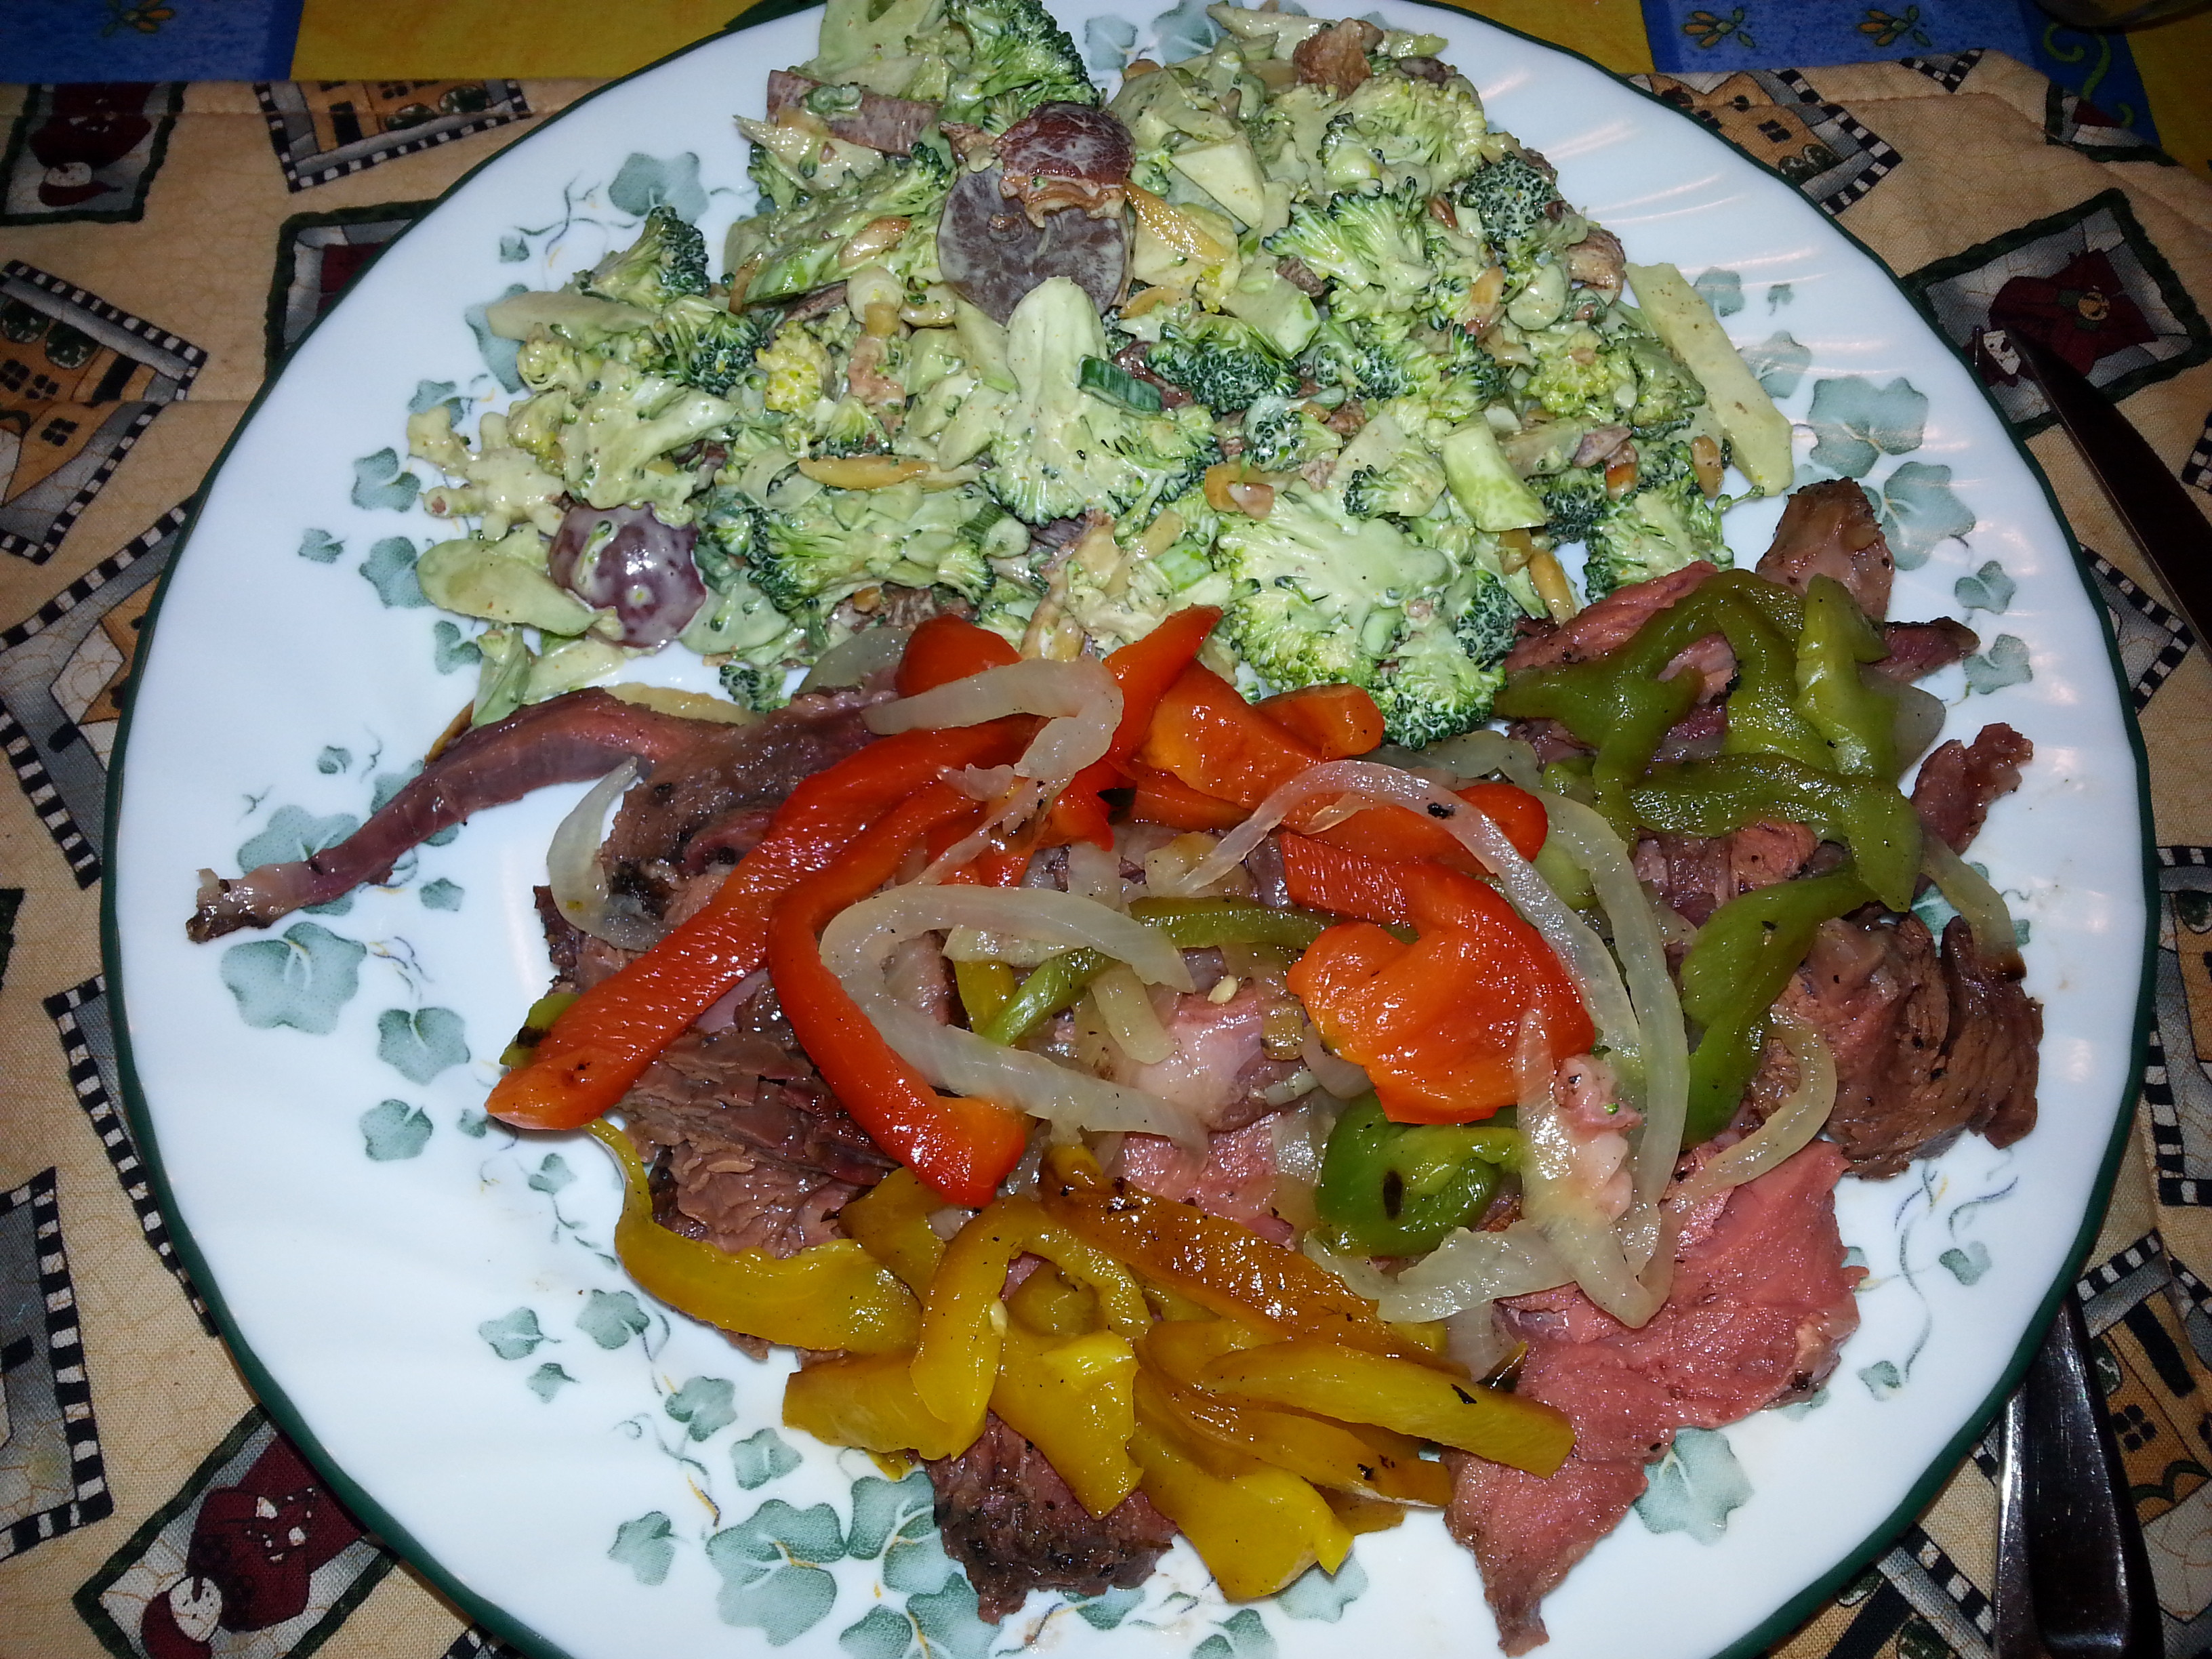
I’m pretty simple when it comes to plating. Some broccoli salad (I’ll post the recipe at some point… usually my folks bring it over when they come to dinner, so I don’t make it often) at the top, a bunch of sliced roast at the bottom, with charred onions and grilled peppers on top.
Pingback: Charred Onion – KJDavies
Pingback: Grilled Peppers – KJDavies