See, the way sourdough works, “that sandwich was the last sourdough baguette” isn’t enough lead time. Even if you have a good starter, you’re still looking at hours, or in my case a day and a half, before you have more.
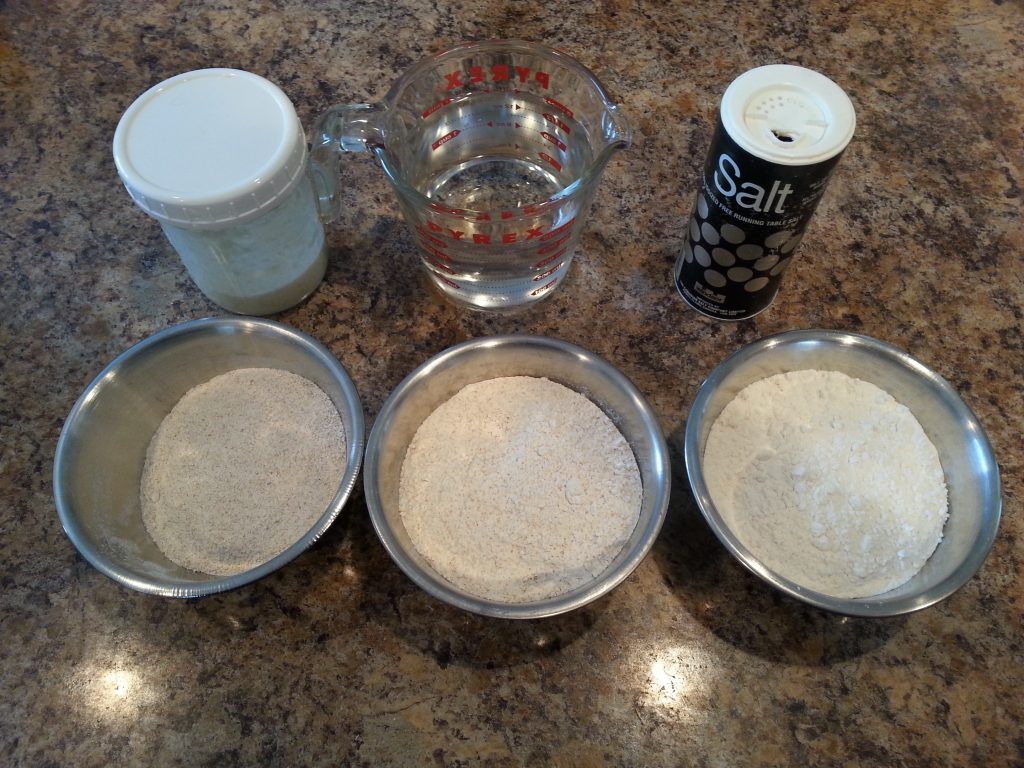
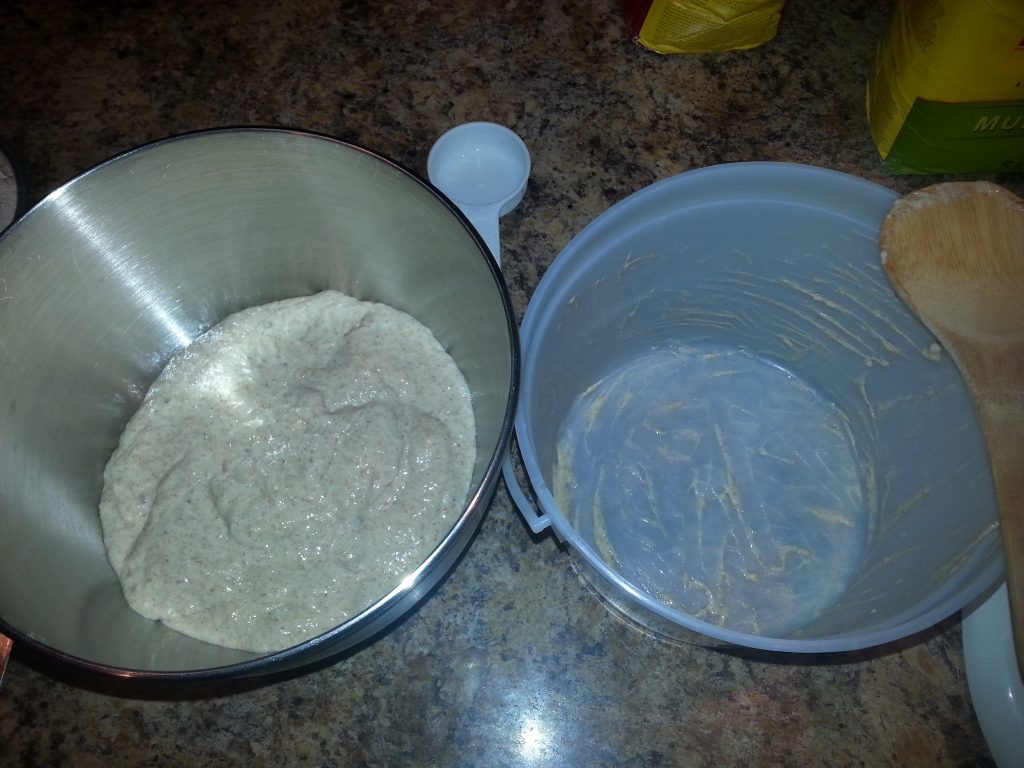
It takes a fair bit of time, but it’s easy enough. I’ve had this starter (top left) for about six months now. It’s got a fairly stable culture and the bread is a little sour without being overpowering. I’ll be using 25 grams (two tablespoons, sort of) of starter.
I start by creating a poolish, equal parts by weight of water and flour. In this case I’ve got 500 mL (500 grams) of water, 100 grams of rye flour, 200 grams of whole wheat, and 200 grams of strong white flour (‘bread flour’). The salt is actually for tomorrow, when I’ll add it, along with 300 grams more flour (probably a multigrain blend, which is basically white bread with seeds and stuff in it).
Put the starter in the water.
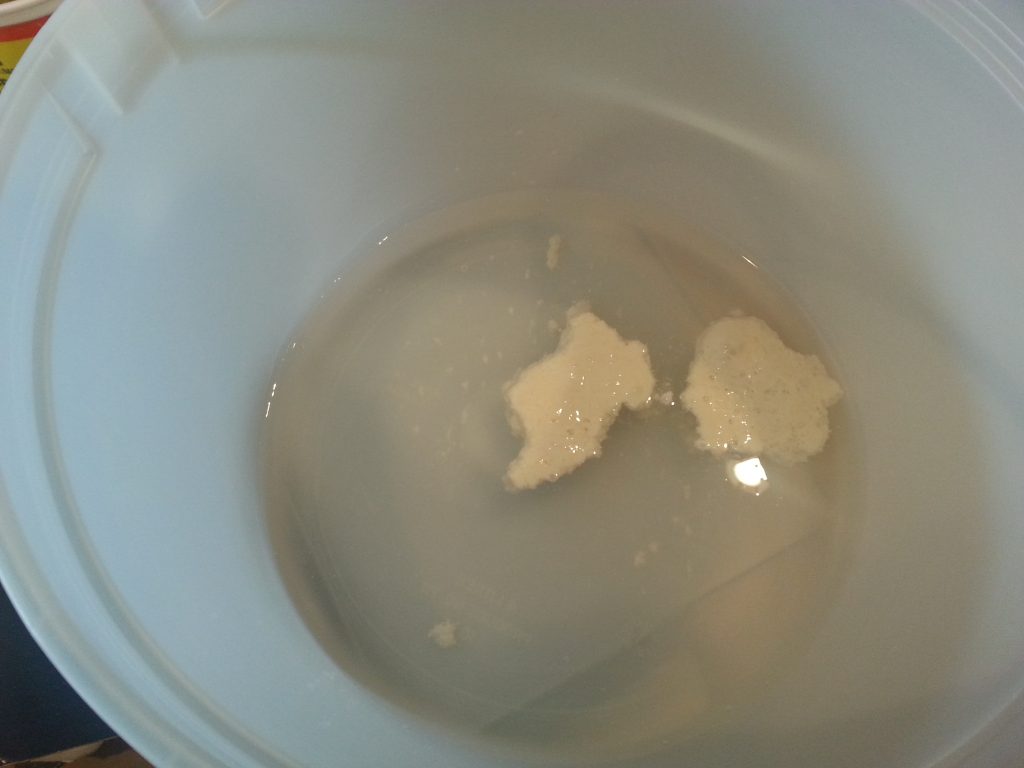
It’s tough to see here, but the starter is floating, even after I stirred it in the jar and released a lot of the air. This is very good sign, indicating we’ve got a healthy, active yeast culture.
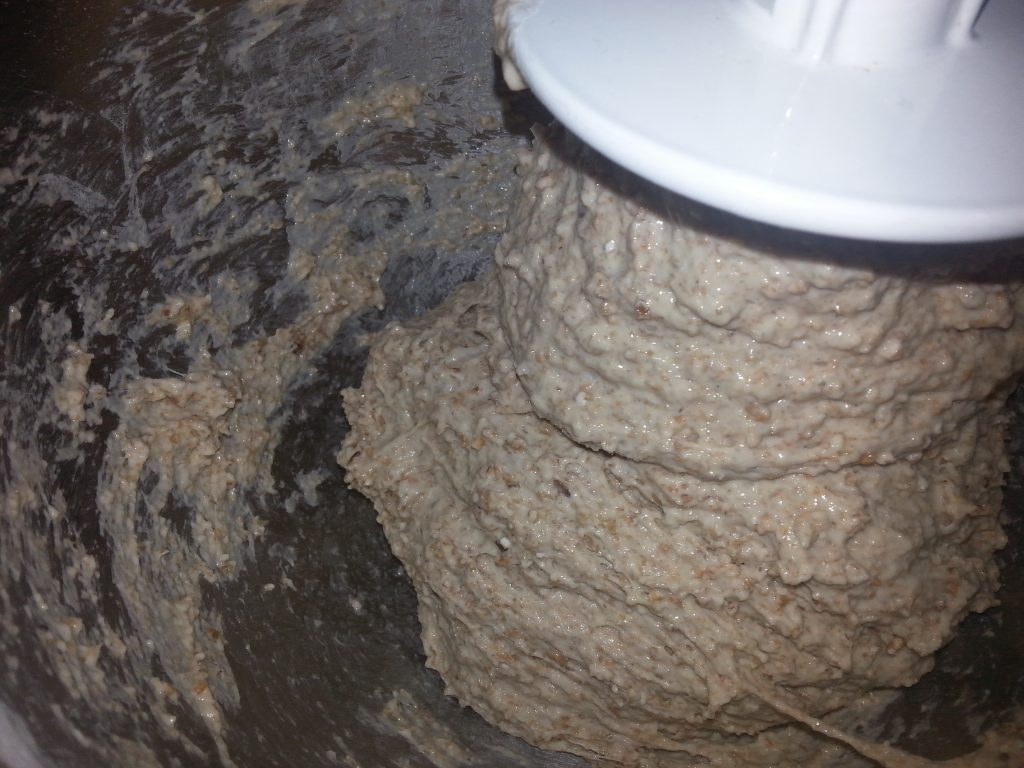
Add the flours and stir.
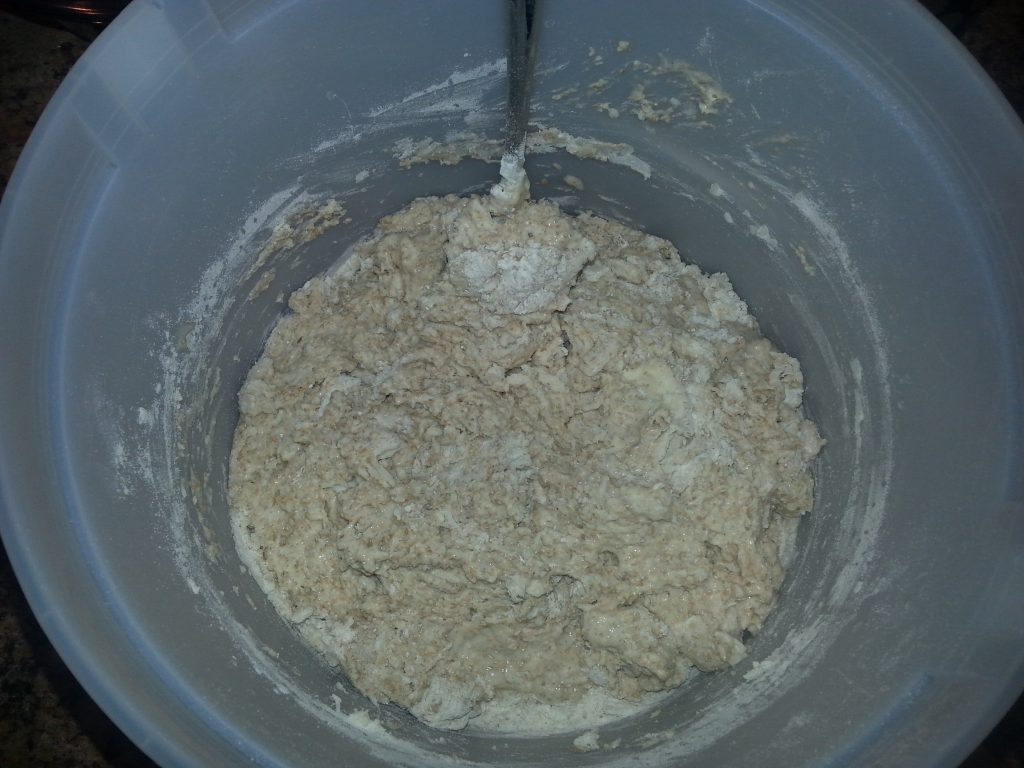
You could actually stop here. The poolish is going to rest for hours at least, and dry bits would soak up the water.
I’ve heard of people letting the poolish develop for two or three days, but I haven’t tried that myself. I usually do it for about a day — normally 24 hours, but I started late today; I’m likely to get an earlier start tomorrow and let this one go for 21 or 22 hours.
You could leave it mixed this much, but I prefer to mix more evenly from the start.
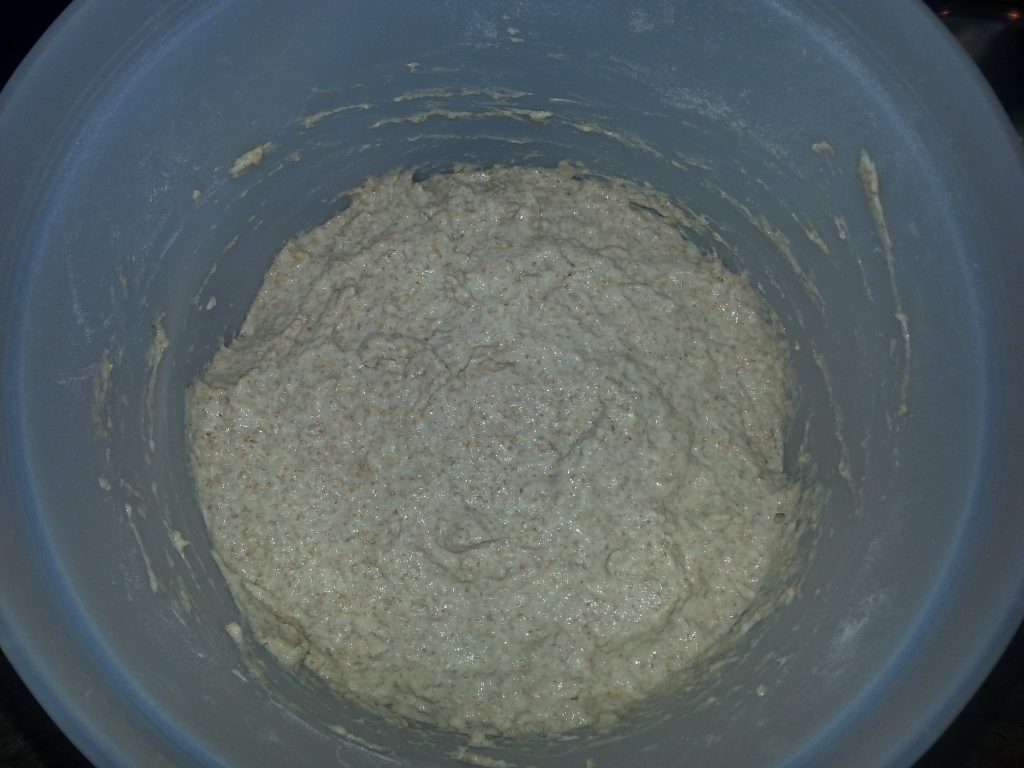
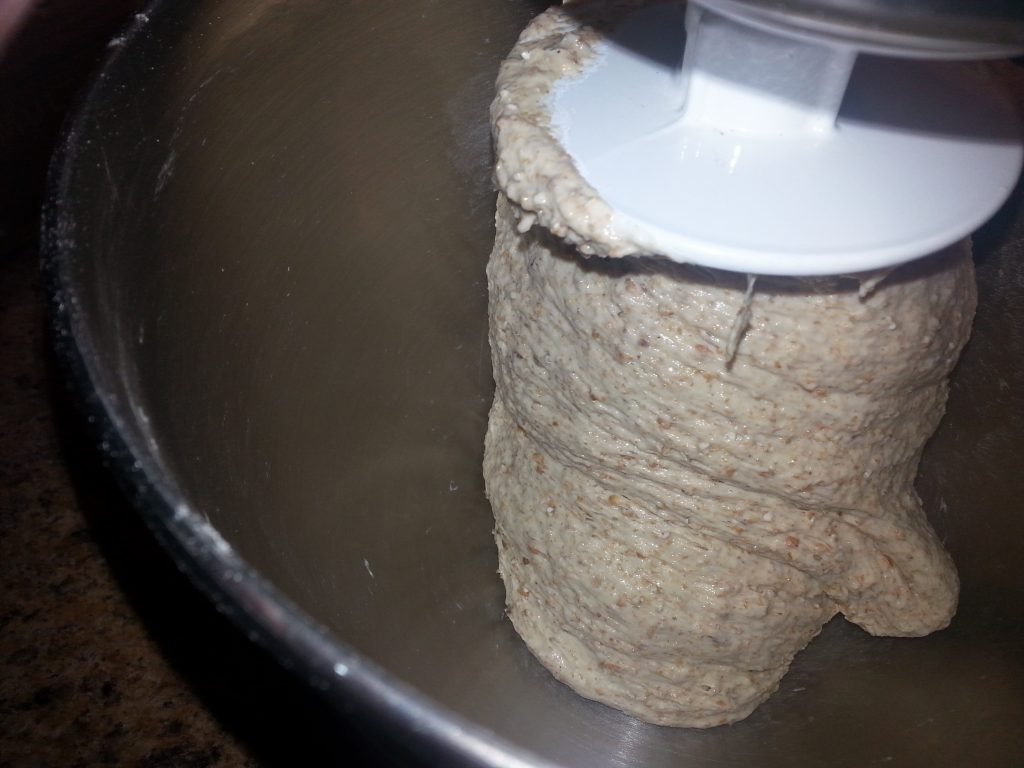
There, that’s how I like it mixed.
The poolish serves two purposes. The first and most important is that it gives an extended pre-fermentation time to the dough. This gives the ancillary bacterial cultures time to develop, and it is these ancillary bacteria that give the bread its distinctive taste.
The second purpose is to give the yeast in the starter time to activate. There’s only a small amount of starter (5% — bread recipes work in percentages of the flour, so 25 grams compared to 500 grams of flour) spread around the poolish. The next 20-some hours will give the yeast time to grow in a happy, food-rich environment. I can expect the volume of poolish to approximately double by morning.
Between the cultures involved, the bread will develop the characteristic sour flavor and strengthen the gluten, giving the distinctive chewiness found in sourdough bread.
Tomorrow morning, I come back and add 300 grams more flour, 25 grams of salt, and mix (using a stand mixer, this is really sticky for hand work) until smooth and elastic.
Recipe
Contents
This recipe has three parts: the starter, the poolish, and the bread itself.
The recipe here uses several flours to give a more robust flavor. The moderate hydration (about 62.5% — 500 grams water to 800 grams flour) gives me a dough with a good crumb and is dry enough that I can shape it using couches.
‘Couches’ (pronounced ‘cooshes’) are not sofas, they’re linen clothes often used by bakers when shaping and resting bread. I don’t have any bannetons (wicker baskets often used for shaping bread) and don’t like the result when I use a pan, so old school it is.
Starter Recipe
I wrote another article about sourdough starter that provides the recipe, such as it is, and the process, along with some observations of the whole thing. I won’t repeat it here.
Poolish Recipe
A poolish is typically equal parts by weight of water and flour. There’s a huge amount of room for experimentation, but I’ll present the recipe I’ve used here.
- 500 mL (500 grams) room-temperature water
- 100 grams rye flour
- 200 grams whole wheat flour
- 200 grams strong wheat flour
- 25 grams active starter
Mix, leave for hours until ready to use (6-24 hours, say — I try to leave it for an entire day, or overnight at least).
Bread Recipe
This adds the remaining two ingredients, and finishes the process.
- Poolish from above
- 300 grams flour (I’m using multigrain this time)
- 25 grams salt
The process is straightforward.
- Put poolish in the bowl of a stand mixer.
- Add 150 grams flour and 25 grams salt.
- Put bowl in mixer.
- Mix with dough hook, adding remaining flour by spoonfuls until dough pulls away cleanly from side of bowl.
- Let the mixer continue to knead until smooth and elastic.
- Turn out onto lightly-flour counter.
- Shape into a ball.
- Place in oiled container (I use the container I made the poolish in) and leave until doubled in size (usually 3-4 hours for me).
- Remove from container, measure and shape, let rise until ready to bake.
- Bake… I like to start at 500F, or as hot as the oven goes, then let it drop to 350F to finish. Total baking time depends on shape.
I’ll demonstrate tomorrow.
Next Steps
I started to name this section ‘Tomorrow!’, but now I call it today, but it’s the tomorrow I was referring to yesterday, and…
That just gets confusing. ‘Next Steps’ is better.
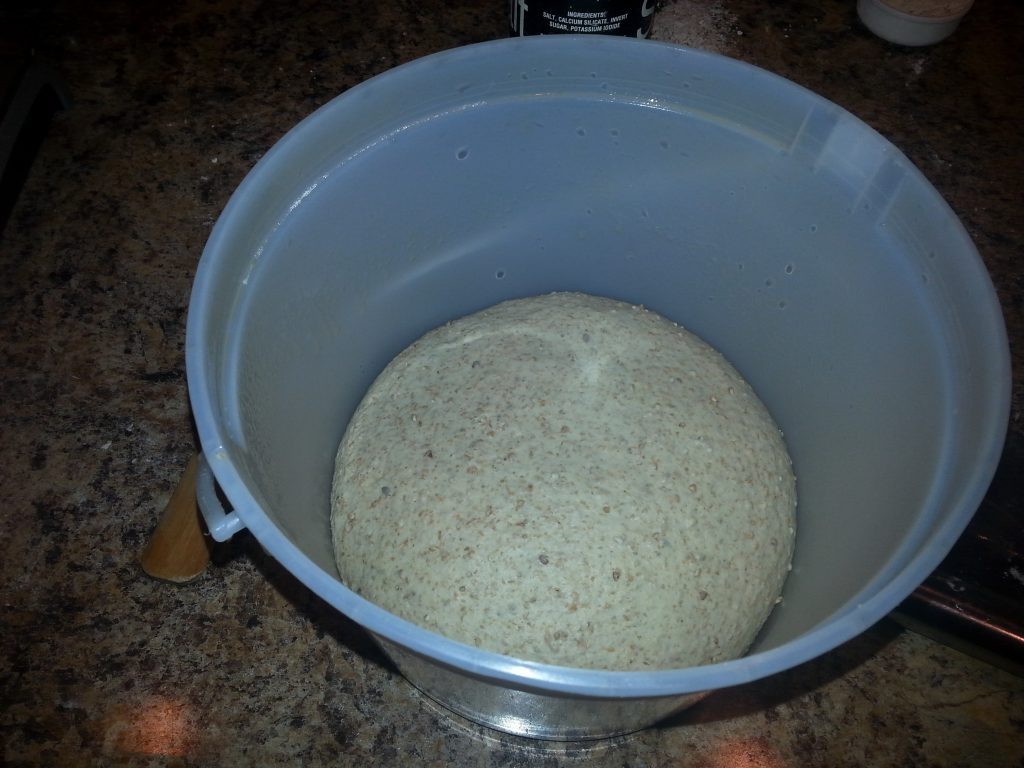
Remember that kind of lumpy mass at the bottom of an ice cream bucket? Something happened.
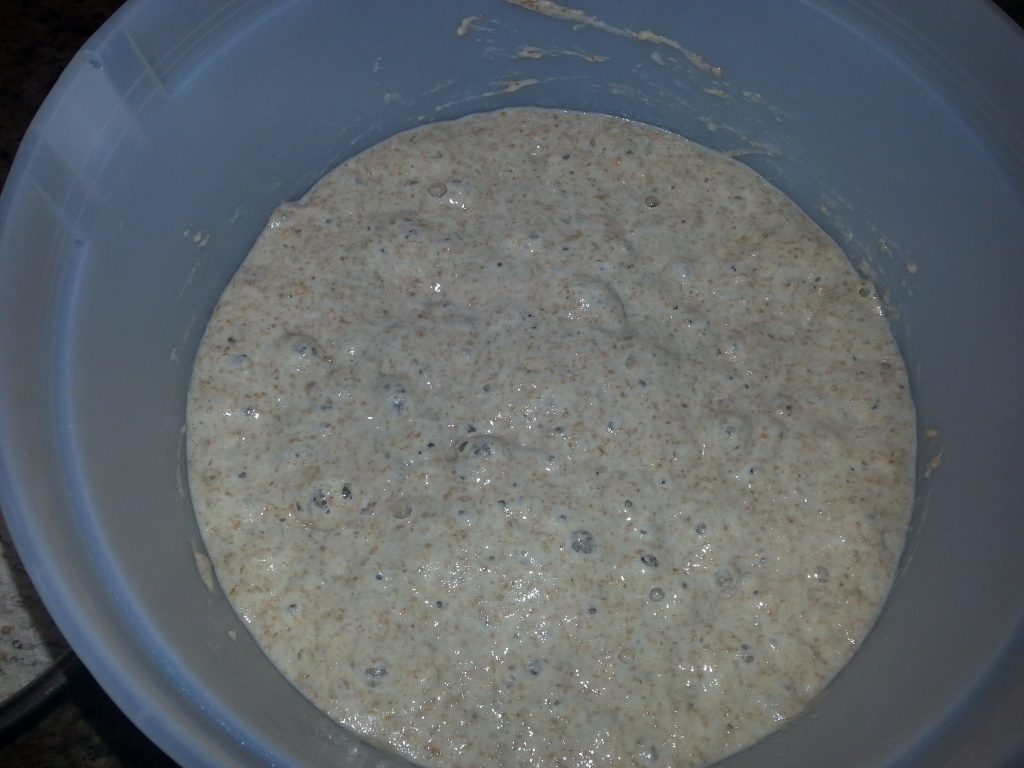
Lots of happy bubbles in here, and that long streak on the top side of the bucket is the same long streak visible on the left side of the bucket yesterday (the picture before this one). The poolish is at least an inch deeper, dare I say twice as deep, as it was yesterday.
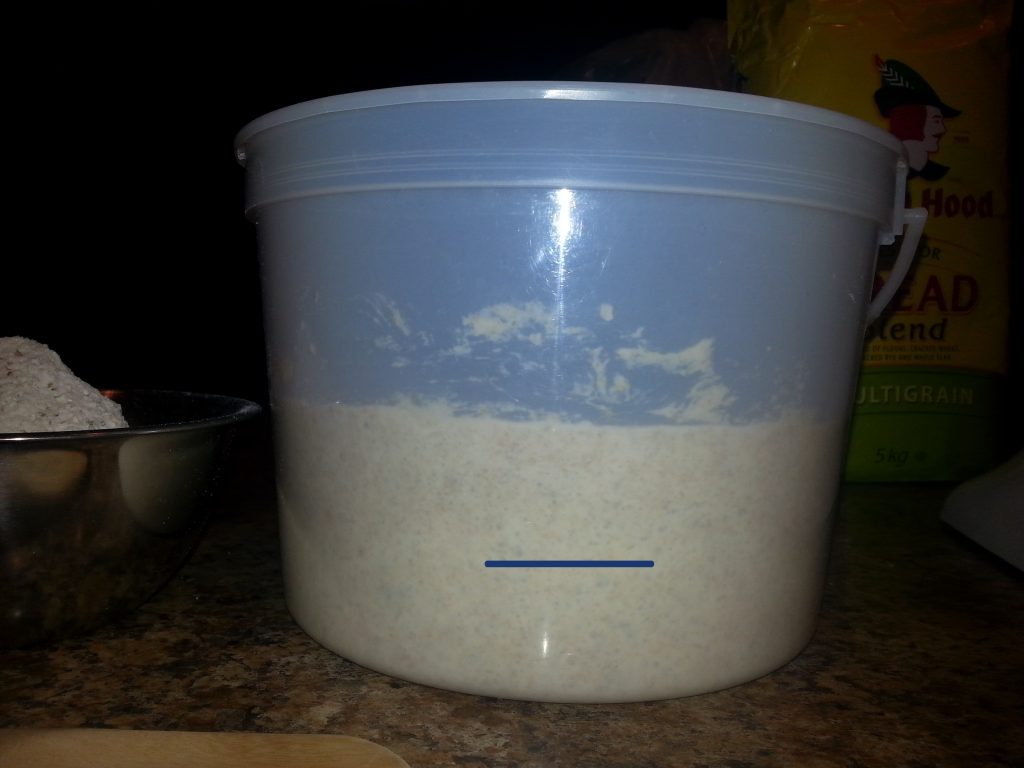
Oh yes, easily twice as deep. Yesterday the poolish didn’t nearly come to the blue line I added to picture.
This is just what we want. The smell is a bit different now, too. I’m picking up a yeasty, slightly sour smell… good.
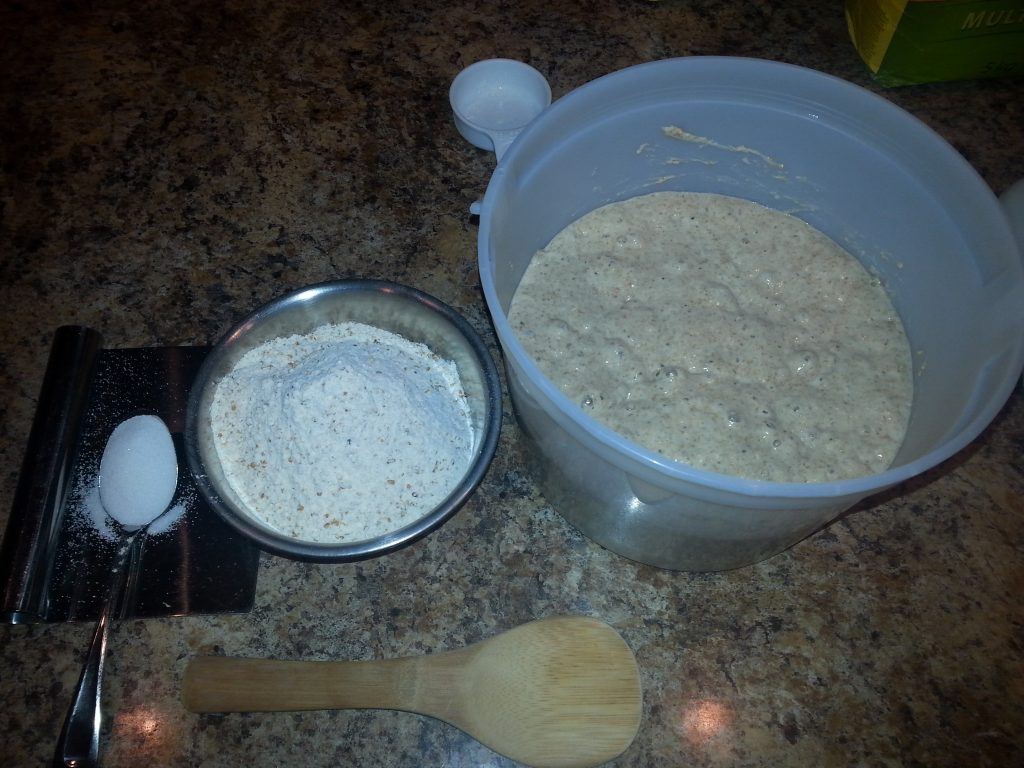
I turned the poolish out of the bucket into the bowl of my stand mixer.
You can see how shiny the poolish is… it’s 100% hydration, which is to say there’s the same amount of water and flour, by weight. Some is still in the bucket, but rather than try to scrape it out with a rubber spatula (a game of diminishing returns) I just take some of the flour I’ll be adding to the mix and throw it in the bucket, then rub it around the bucket. This picks up the remaining poolish much more easily.
It should be clear this is nowhere near mixed enough. It’s had a few minutes, but there’s still a lot of dough on the sides. It’s also had about 200 grams of the 300 grams of flour I’ll be adding.
I took my wooden paddle and scraped down the sides, sprinkled the remaining flour around the sides of the bowl, and let it go for a few more minutes.
Now that’s more like it. The dough has basically finished cleaning the bowl.
At this point I turned it out onto the counter. No need to flour the counter, I’ll be scraping from this point, and I want it to stick.
I also did the window pane test to make sure the dough was sufficiently elastic. I took about an ounce of dough and stretched it out until I could see light through it, without it tearing. This is harder with a dough like this because the seeds and whatnot interrupt the gluten, but it still worked.
I don’t have a picture of this part because I needed both hands to handle the dough. Perhaps when someone else in the house is awake and can take a photo.
I then put the dough back together and started ‘scraping’. I have a bench scraper (to the right in the picture below), and all I do is flour that and my left hand, then scrap the dough right to left until it forms a smooth ball as shown below.
It’s hard to describe… I’ll look for a video explaining what scraping is. It’s a technique I learned while trying to handle high-hydration dough.
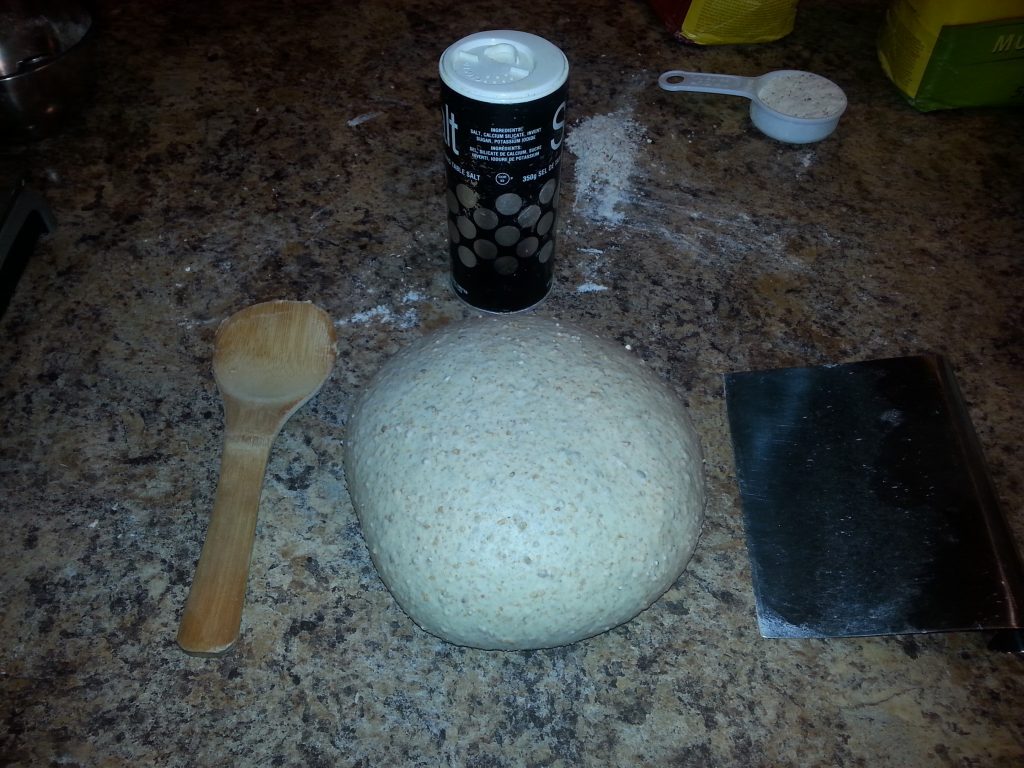
That is about three pounds — 1333 grams, actually — of dough. The ball is about six inches across, same as the bench scraper, and about three inches high.
And now the dough goes back into the bucket for the bulk rise. Right now, despite being about 30% more mass, the dough is a smaller volume than the poolish was. Later this morning it should be about the same volume, or a bit more. There’s more material to work with, and the gluten is more developed.
In about three hours I’ll check on it, and probably divide and shape it for final rise before baking.
Dividing and Shaping
The dough has risen… not as much as the poolish did, but I gave it only about four hours.

I really need to find a way to get consistent images, to make it easier to compare before and after. Another time.
I divided the dough into six 220-gram pieces, to be shaped and let rise again.
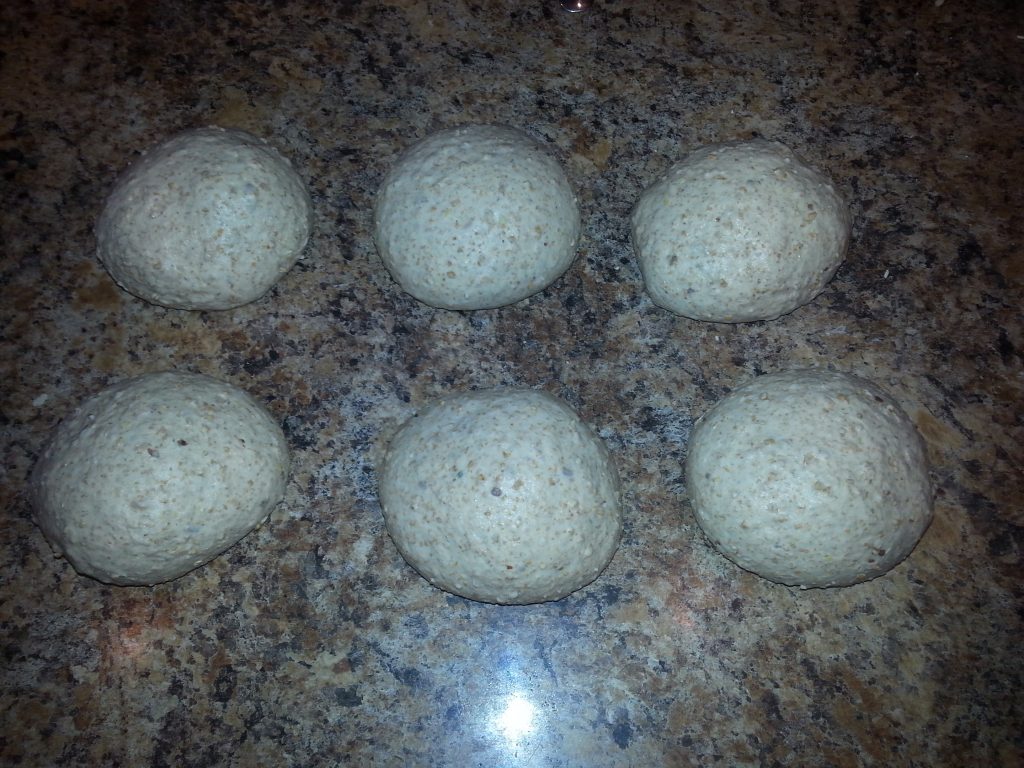
I just made six balls of dough, just about half a pound each, and let them rest before final shaping. Giving the dough 10-15 minutes to relax after rough shaping makes them very much easier to work with.
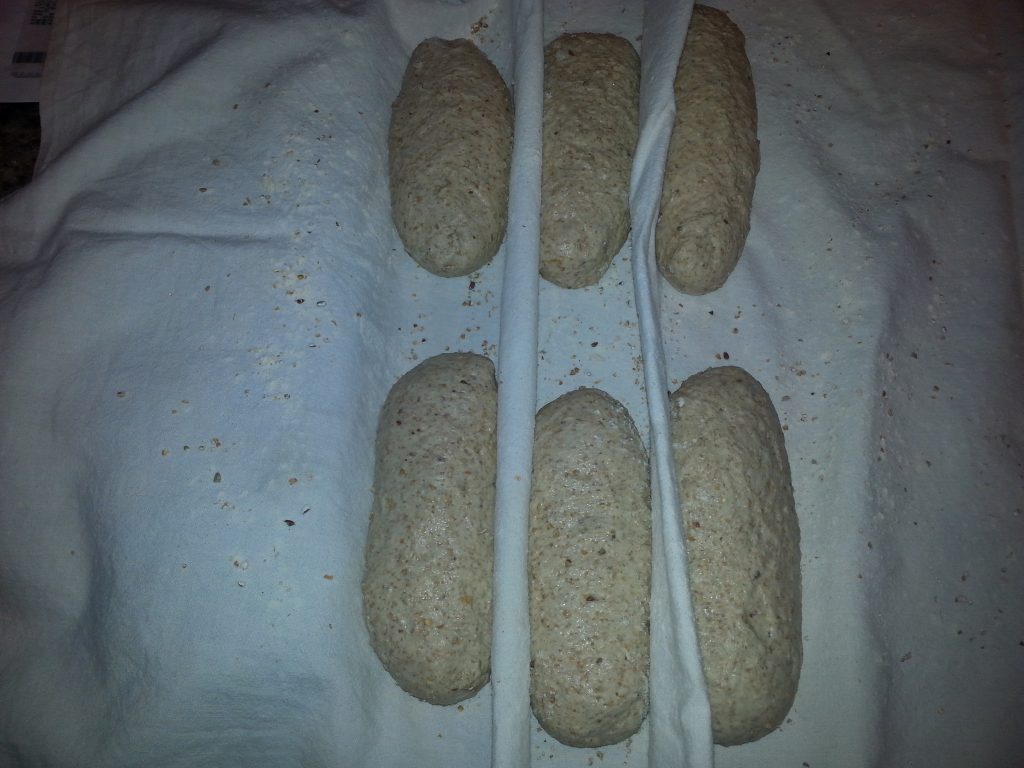
I basically just scraped and turned them 180 degrees a few times, to make them more or less cylindrical pieces about six inches long. I put them on the floured couch close together with a fold between them. This forces the loaves to grow out and up, rather than spread (the ends of the couch get folded over fairly snugly and tucked together.
I could have fit two or three more rows like this on my couch, but I wasn’t making that much bread. I used the same multigrain to flour the couch as I used the recipe. The primary purpose of the flour is to keep the dough from sticking to the cloth, and the seeds do nothing to prevent that.
I didn’t think to measure the bread before baking. Oops.
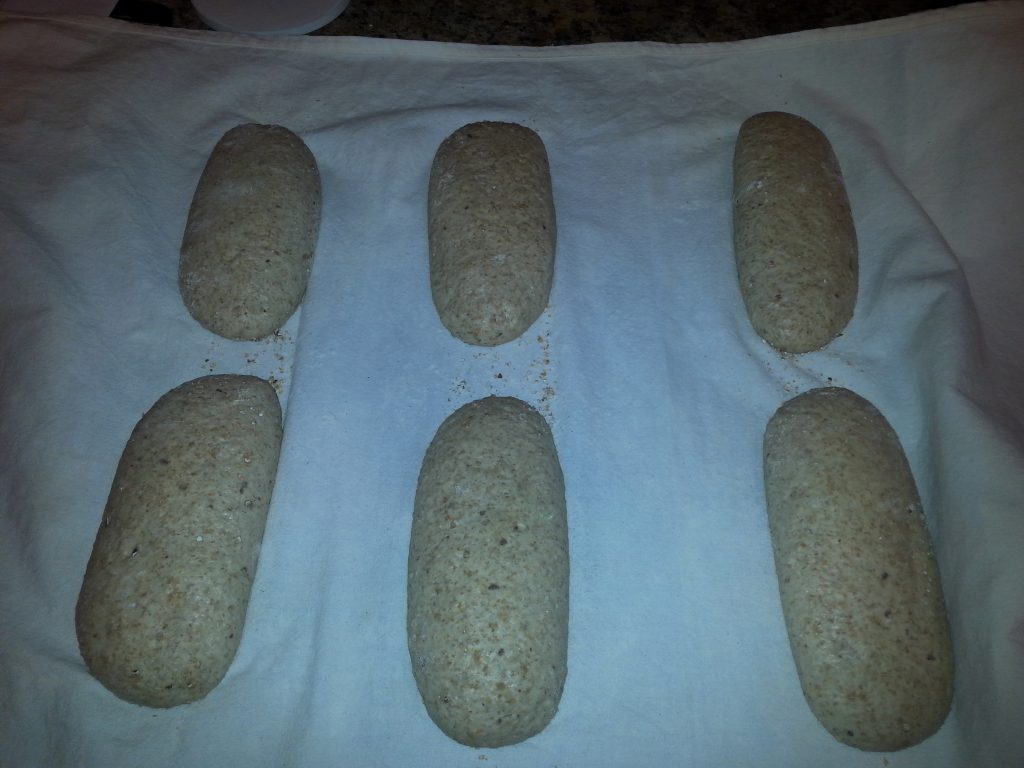
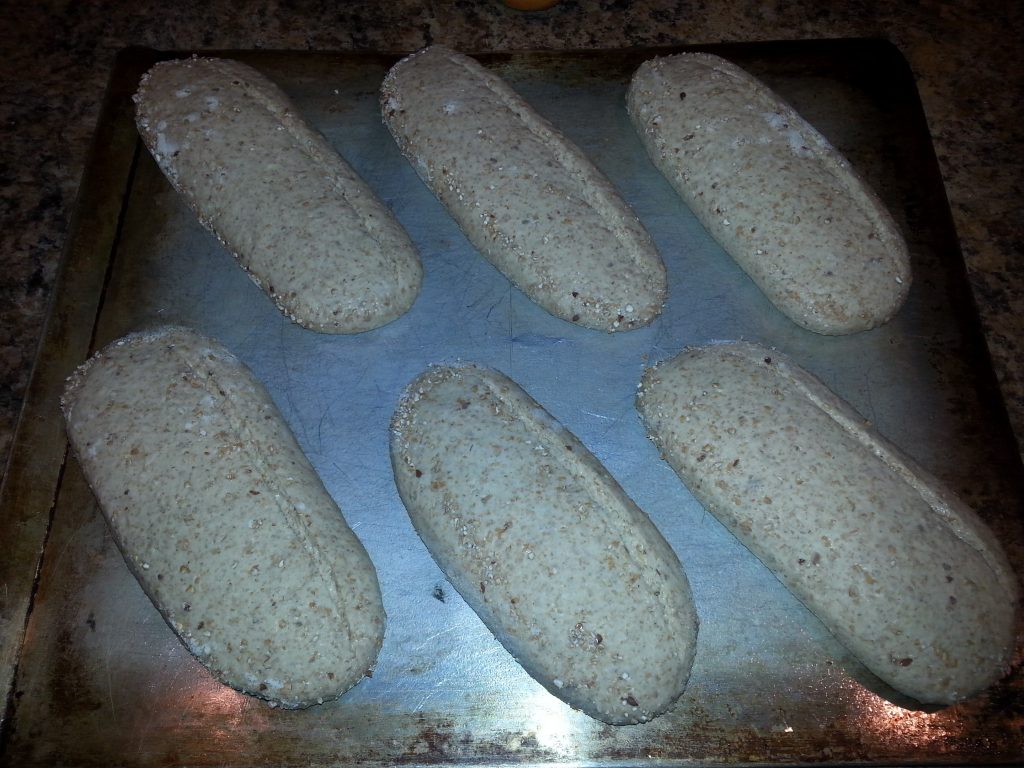
The loaves are, however, a little longer, taller, and wider (I pulled the couch apart a bit after some initial rising, to let the loaves spread a bit). They’re noticeably smoother as well.
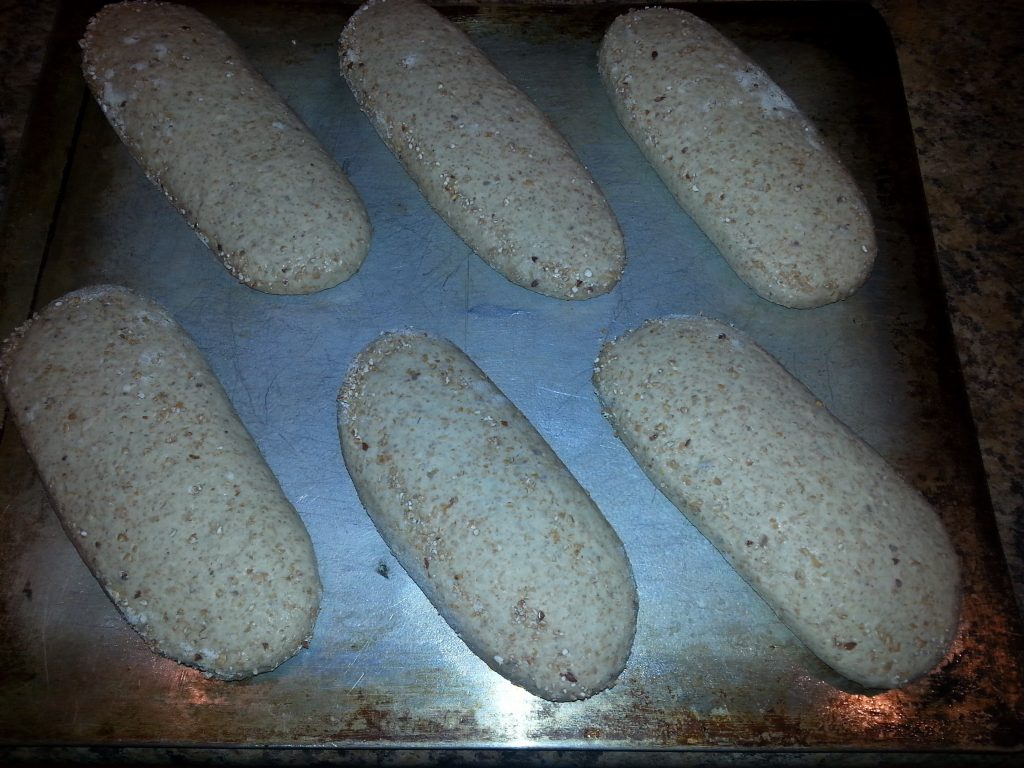
And here they’re arranged on the pan for baking. I turned the diagonally because there isn’t quite room to have them end to end.
I tend to be timid when scoring the bread, so here I took a firmer hand. You can see by how the dough is splitting that there’s still a fair bit of tension still in the outer surface.
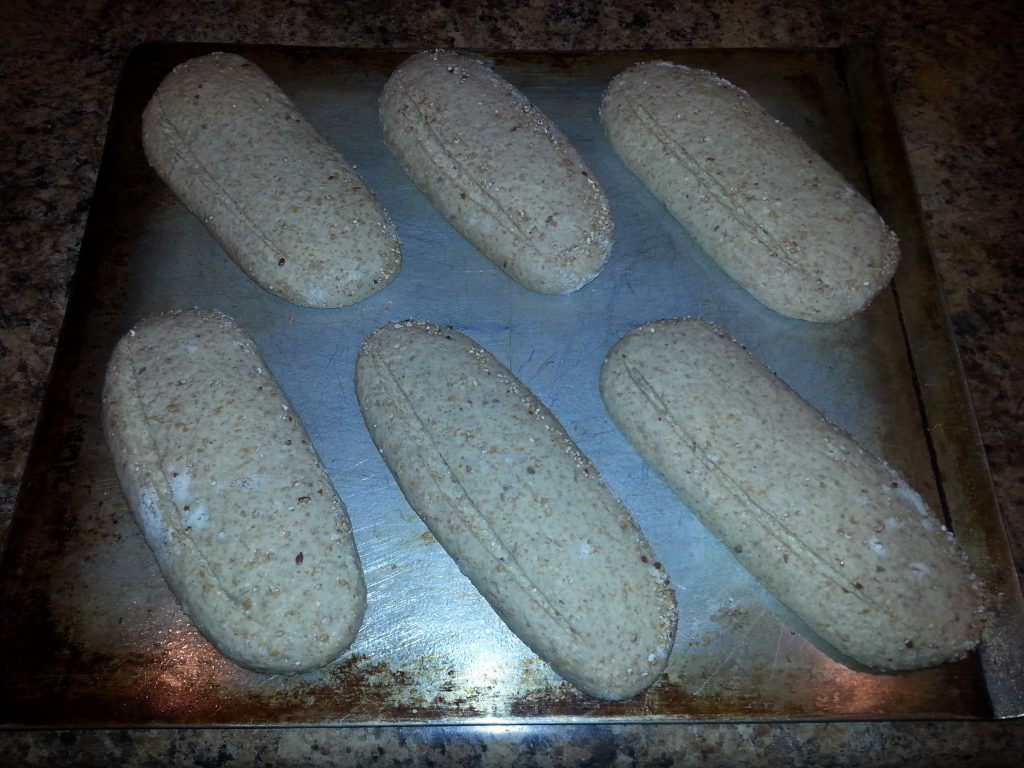
And here turned 180 degrees to make the scoring more evident. You can see from the shininess of the dough in the score that this is still a fairly wet dough… inside.
Baking
I baked the bread by pre-heating the often to 500F, putting the bread into the oven, then reducing temperature to 350F. That initial burst of heat gives the bread some spring before cooling off to a cooking temperature.
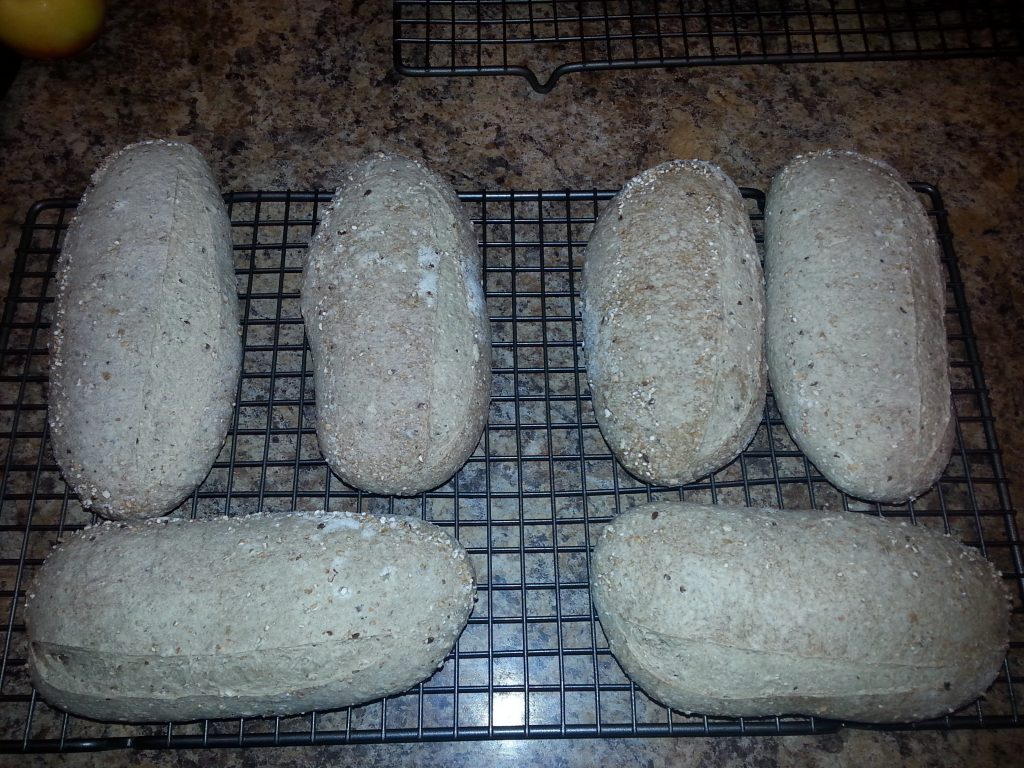
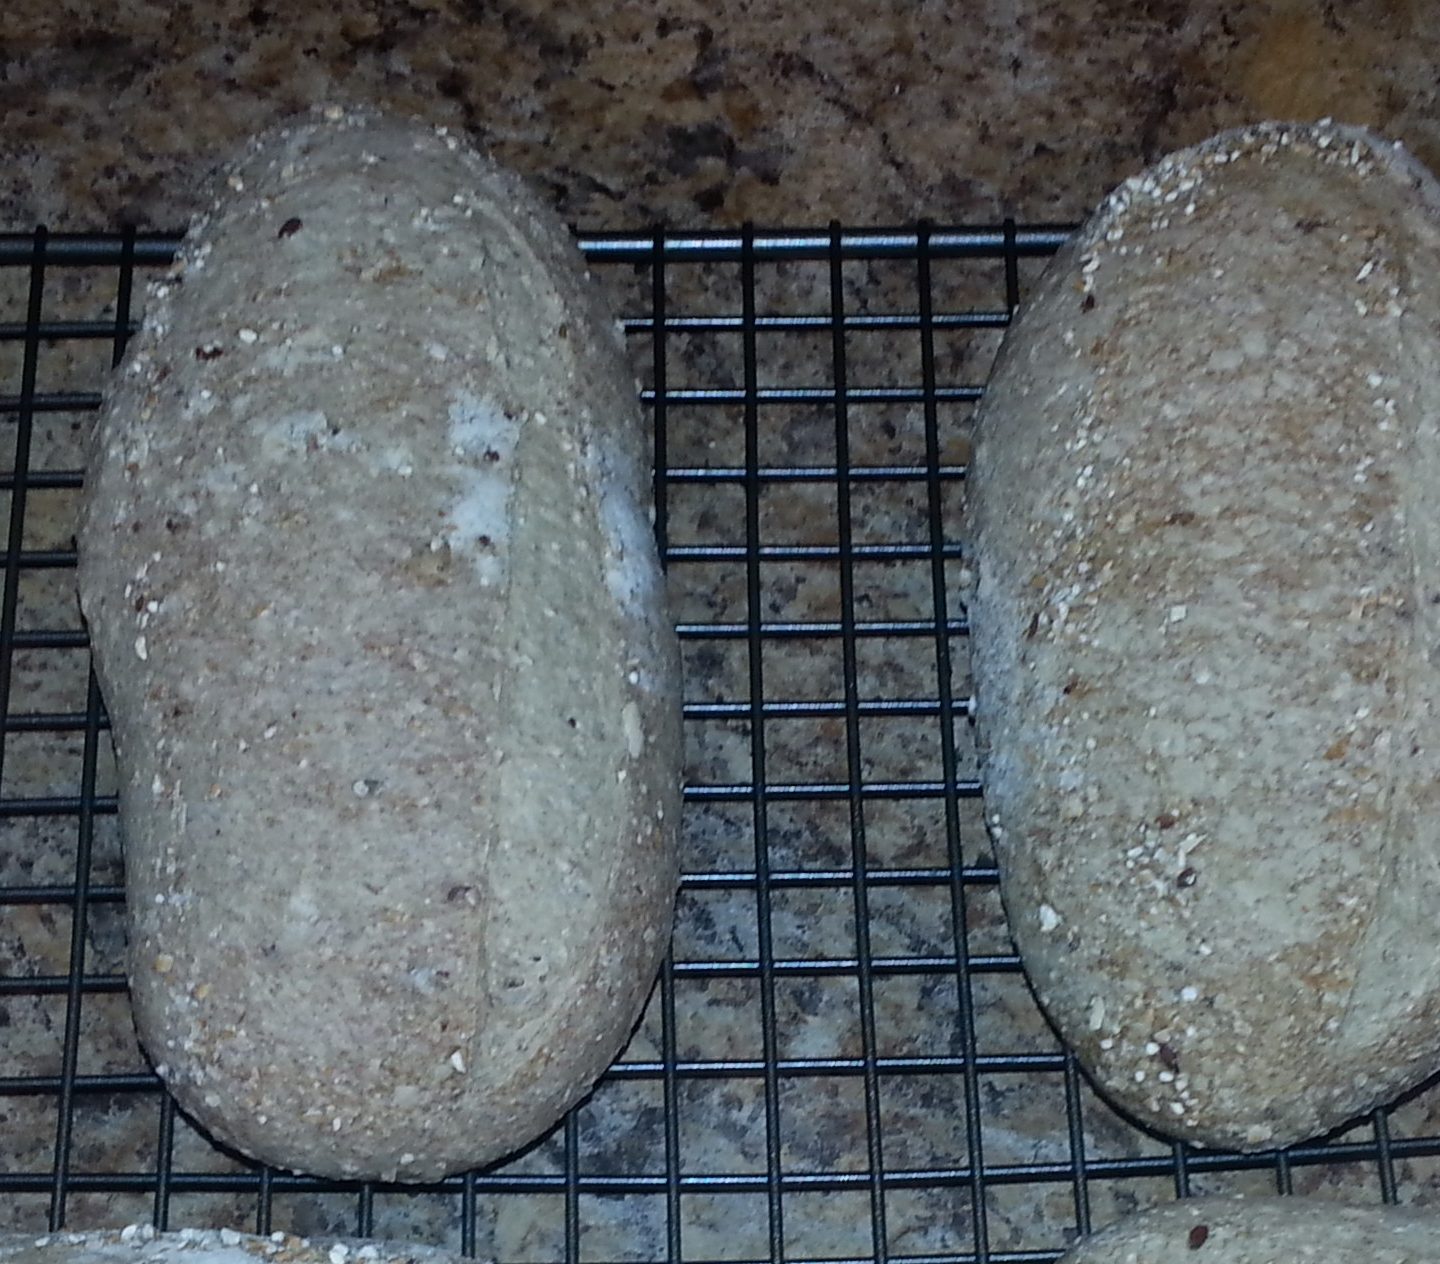
You can see after the baking that the bread is still quite pale on top. The scores have gotten broader, indicating some rising during baking.
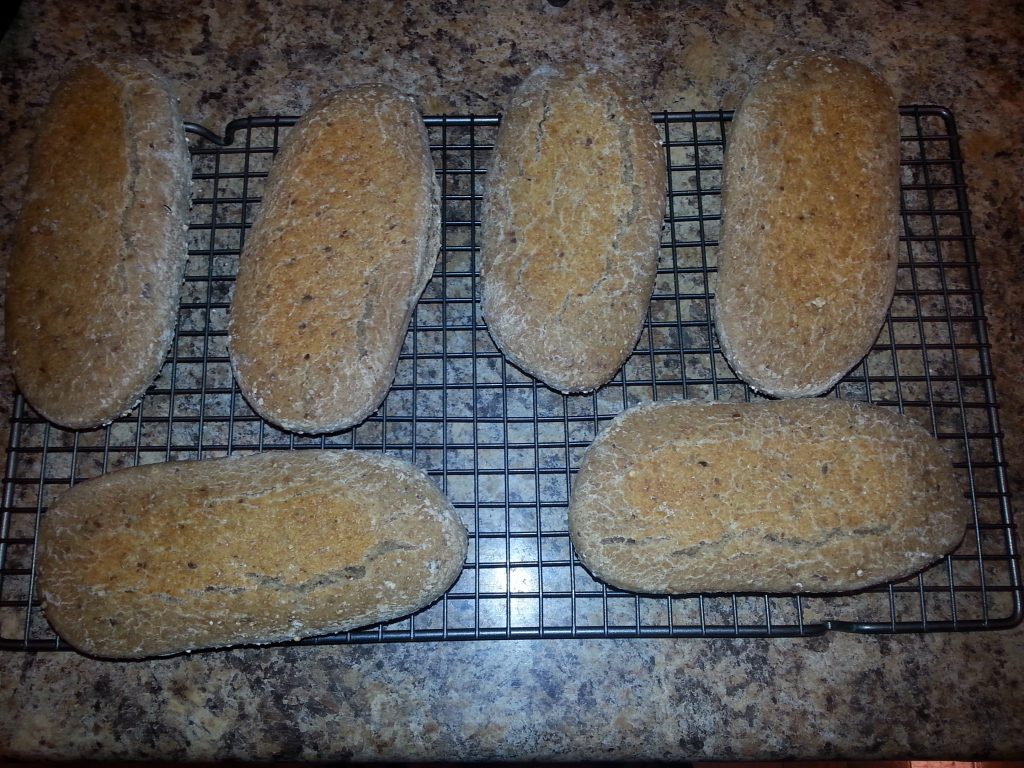
The bottom has some much better color, though, picked up from the oil on the baking sheet. And I’m still getting some cracks and splits in the surface.
I wonder if this is because I’m following the normal practice of setting the bread to rise ‘top side down’, retaining moisture in the top while the bottom dries. Maybe I should try it the other way up?
And perhaps oil the entire thing before scoring, so the bread will pick up some better color altogether.
Still a work in progress, but it’s coming.